
AUTOMOTIVE · SAFETY FIRST
A practical how-to article can solve an immediate problem and also become useful social content. Changing a tire is a good example: the information matters on its own, but a mechanic, roadside-assistance business, auto shop, driving instructor, or creator can also turn the same lesson into a clear educational video.
This guide covers the basic process for changing a tire, then shows how to organize the lesson into short-form content that is easier for viewers to follow.
Safety Comes Before the Tutorial
Only change a tire when the vehicle is in a safe, stable location away from moving traffic. Move to firm, level ground if possible, turn on the hazard lights, set the parking brake, and keep passengers away from traffic.
Use the jack points and procedures specified in the vehicle owner’s manual. Never place any part of your body under a vehicle that is supported only by a jack. If the location, weather, traffic, equipment, or vehicle condition makes the job unsafe, call roadside assistance instead.
What You Need to Change a Tire
- A properly inflated spare tire
- The vehicle’s jack
- A lug wrench
- The vehicle owner’s manual
- Wheel chocks, if available
- Gloves and a flashlight can also be helpful
Step-by-Step: How to Change the Tire
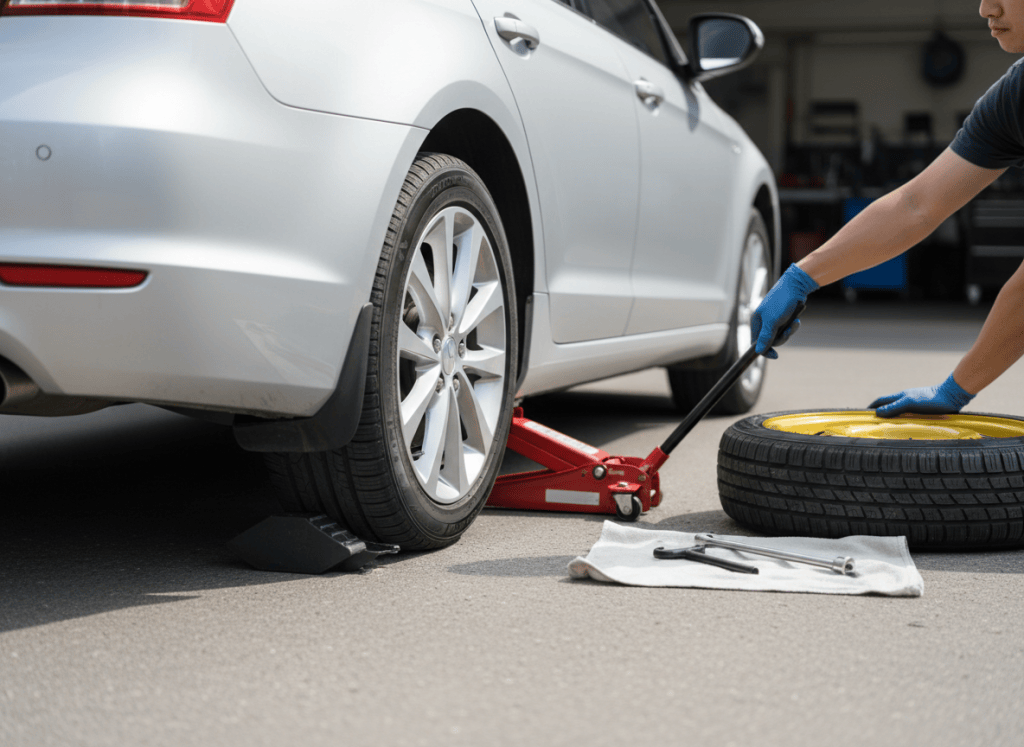
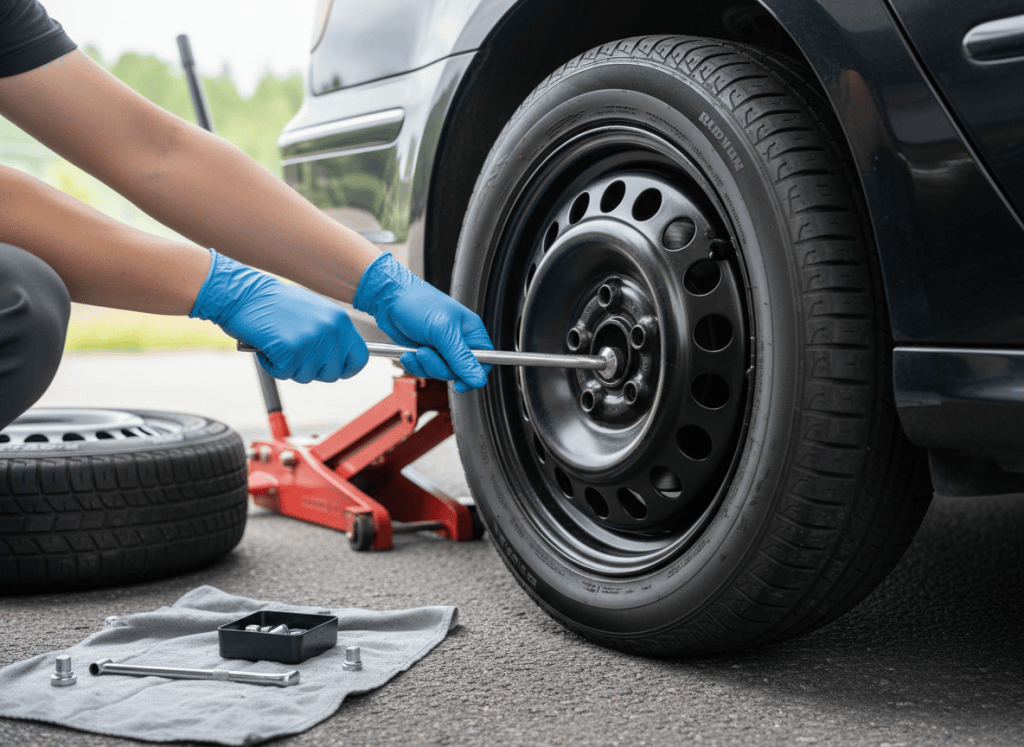
- Secure the vehicle. Put the transmission in Park or in gear for a manual transmission, set the parking brake, and place wheel chocks on the opposite side if available.
- Locate the spare and tools. Confirm that the spare tire, jack, and lug wrench are present and usable.
- Loosen the lug nuts slightly. Before lifting the vehicle, turn each lug nut counterclockwise just enough to break it loose. Do not remove the nuts yet.
- Position the jack correctly. Find the manufacturer-designated jacking point nearest the flat tire and position the jack exactly as the owner’s manual describes.
- Raise the vehicle. Lift it only high enough for the flat tire to clear the ground.
- Remove the lug nuts and wheel. Finish removing the loosened lug nuts, then pull the wheel straight toward you.
- Install the spare. Align the spare wheel with the wheel studs or mounting holes and place it onto the hub.
- Hand-tighten the lug nuts. Thread each nut by hand first so it seats correctly.
- Lower the vehicle until the tire touches the ground. Lower it enough to keep the wheel from turning, but do not put the full vehicle weight on it yet.
- Tighten the lug nuts in a crisscross or star pattern. This helps seat the wheel evenly.
- Lower the vehicle completely. Remove the jack and tighten the lug nuts to the manufacturer’s specified torque as soon as possible.
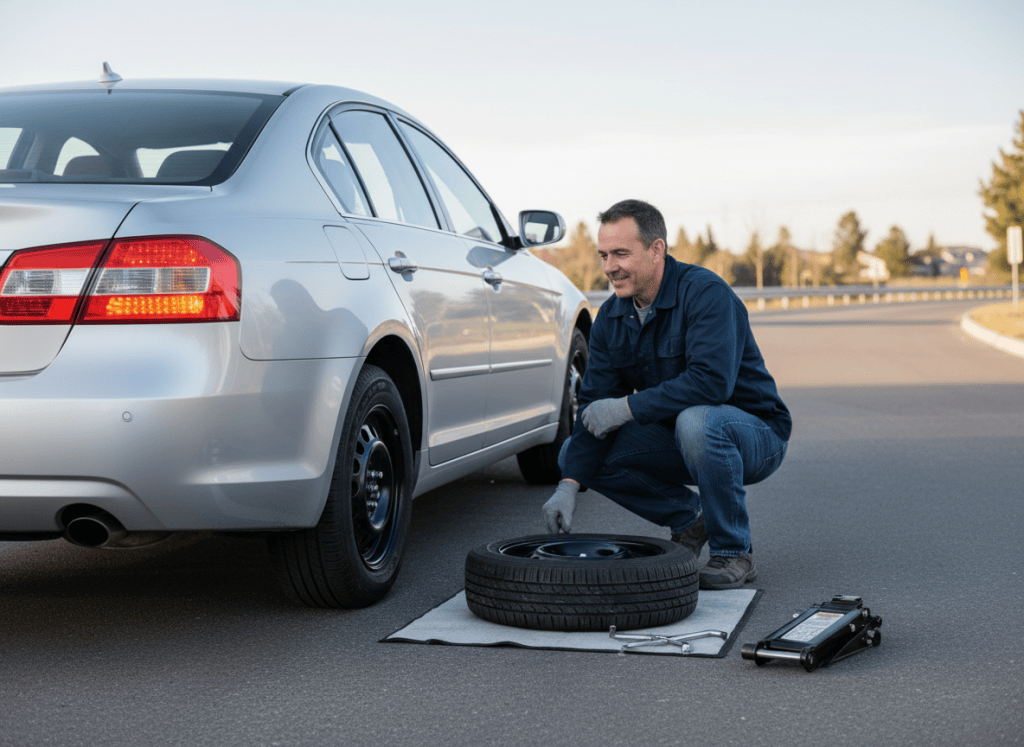
AFTER INSTALLATION
Remember That Many Spare Tires Are Temporary
Compact spare tires often have speed and distance limits. Check the tire label and owner’s manual, and replace or repair the damaged tire promptly. A temporary spare is meant to get you to a safer or more permanent repair solution—not to become a long-term replacement.
POST-INSTALLATION CHECK
Before You Drive Away
- Collect the jack, lug wrench, wheel chocks, and removed wheel so nothing is left near the vehicle.
- Confirm the spare is properly seated and check its pressure when practical.
- Review the spare tire and owner’s-manual speed and distance limits.
- Arrange repair or replacement of the damaged tire promptly.
- Have the lug-nut torque checked or confirmed according to the vehicle manufacturer’s guidance.
FROM HOW-TO TO CONTENT
Turn the Lesson Into a Clear Video Sequence
A useful tutorial video does not need a dramatic commercial script. The strongest version usually follows the same order as the real task so viewers can understand what happens next.
- Opening: show the flat tire and explain what the viewer will learn.
- Safety setup: show the hazards, parking brake, safe location, and tools.
- Loosening: demonstrate breaking the lug nuts loose before lifting.
- Jack placement: show where the correct jacking point is found.
- Wheel swap: remove the flat and install the spare.
- Tightening: demonstrate the crisscross or star pattern.
- Final reminder: explain that many spares are temporary and that proper torque matters.
Why Showing a Real Person Helps
For practical skills, viewers often connect more easily when they can see a real mechanic, shop owner, instructor, or everyday driver completing the task. The person provides scale, context, and trust. Their hands show where tools go, their body position shows how the work is approached, and their explanation can make an unfamiliar process feel manageable.
How a Small Auto Business Can Reuse the Same Tutorial
An auto shop could publish the full educational article, turn the procedure into a short social video, create a shorter “3 things to remember” version, and finish with a simple invitation to visit the shop for tire repair, rotation, inspection, or replacement.
The educational value comes first. The business promotion becomes more natural because it follows genuinely useful information instead of interrupting it.
Use AI to Assist the Production, Not Replace the Expertise
AI-assisted creative tools can help organize scenes, build visual assets, adapt content for different formats, and support editing. But the technical advice itself should still come from reliable instructions, the vehicle manufacturer’s guidance, and qualified expertise when needed.
That separation matters. ShiMuv can support the creative side of the workflow—turning an idea or tutorial into visual content—while the creator remains responsible for the accuracy of the real-world instruction.
Explore ShiMuv to see how creators and small businesses can develop, edit, and repurpose practical content across multiple formats.
TRY THIS IN SHIMUV
Turn this tire guide into a safety-first video
Use this real article as a starting point. Open the editable prompt and finished example image in ShiMuv, then review or customize everything before generation.
Create a short safety-first instructional video using this finished tire-change image as the visual reference. Show the secured vehicle and tools. Demonstrate the correct jacking point. Remove the lug nuts safely. Install the spare and tighten in a star pattern. End with the vehicle lowered and a final safety check.Opens with this prompt and finished example image ready to review. Nothing generates or spends credits until you confirm.



 ShiMuv Blog
