Sleek Protective Styling
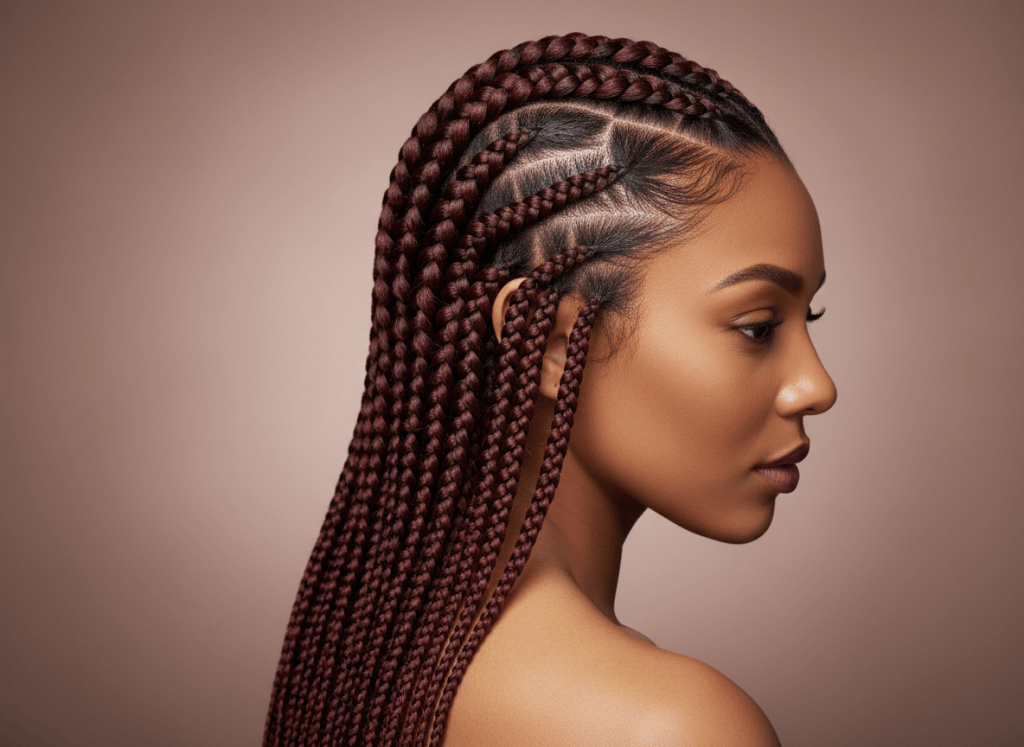
Feed-in braids create a gradual, natural-looking braid by adding small amounts of extension hair as you braid. This helps the braid start smaller at the front and become fuller as it continues.
What You’ll Need
- Rat-tail comb
- Braiding gel
- Sectioning clips
- Braiding hair
- Edge brush and finishing mousse
Prep and Part
- Detangle and stretch the hair if desired.
- Create the planned braid sections with a rat-tail comb.
- Apply braiding gel to smooth each section before beginning.
How to Create Feed-In Braids
- Start the braid with a small section of natural hair.
- After the first crossings, add a small piece of extension hair.
- Continue braiding and gradually feed in additional pieces.
- Keep the braid neat at the scalp without excessive tension.
- Repeat for each section and finish with mousse.
Add Hair Gradually
The feed-in effect comes from adding smaller pieces progressively rather than adding a large amount all at once. This helps the braid look smoother and more natural.
CONTENT GLOW-UP
Turn Feed-In Braids Into Hair Content
- Opening: show smooth parts and prepared extension hair.
- Middle: focus on the gradual hair additions.
- Detail: show the clean base and sleek scalp work.
- Close: reveal the finished braids.
How Hair Professionals Can Use This Format
This format helps braiders demonstrate skill, precision, and clean parts while giving potential clients a realistic look at the process behind sleek protective styles.
TRY THIS IN SHIMUV
Turn this feed-in braid tutorial into a polished beauty video
Create a short hair tutorial video showing how to create feed-in braids on deep auburn textured hair. Open on neat parted sections, show the braid beginning with natural hair, gradually add extension hair, and end with a sleek finished reveal.