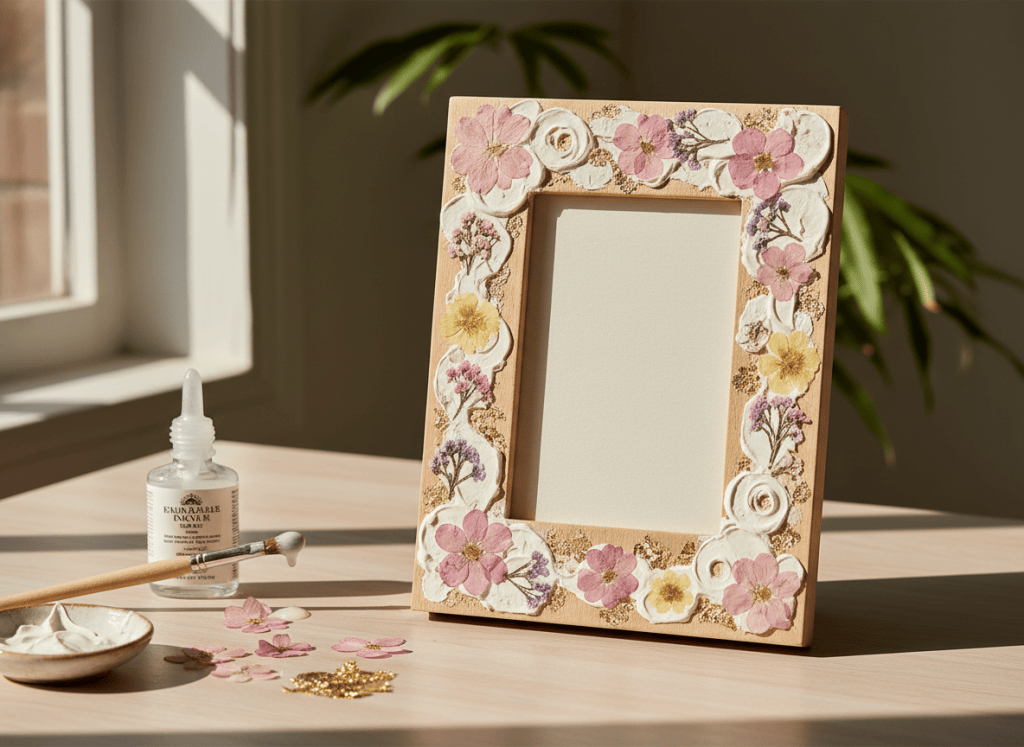
A plain picture frame is an easy surface for learning how color, texture, and small embellishments work together. The secret is to prepare the frame first, build the design before gluing it, and let every layer dry before reassembling the frame.
Plain wood frames, acrylic craft paint, brushes, floral embellishments, ribbon, and craft adhesives are commonly found at craft retailers such as Michaels, Hobby Lobby, JOANN, and similar stores. Match the adhesive to the materials you are attaching.
Beginner Craft Supply List
What You’ll Need
- Plain wood or unfinished picture frame
- Acrylic craft paint
- Small paintbrushes
- Decorative flowers, trim, beads, or small embellishments
- Craft glue appropriate for your materials
- Protective paper for the work surface
Visual Step-by-Step
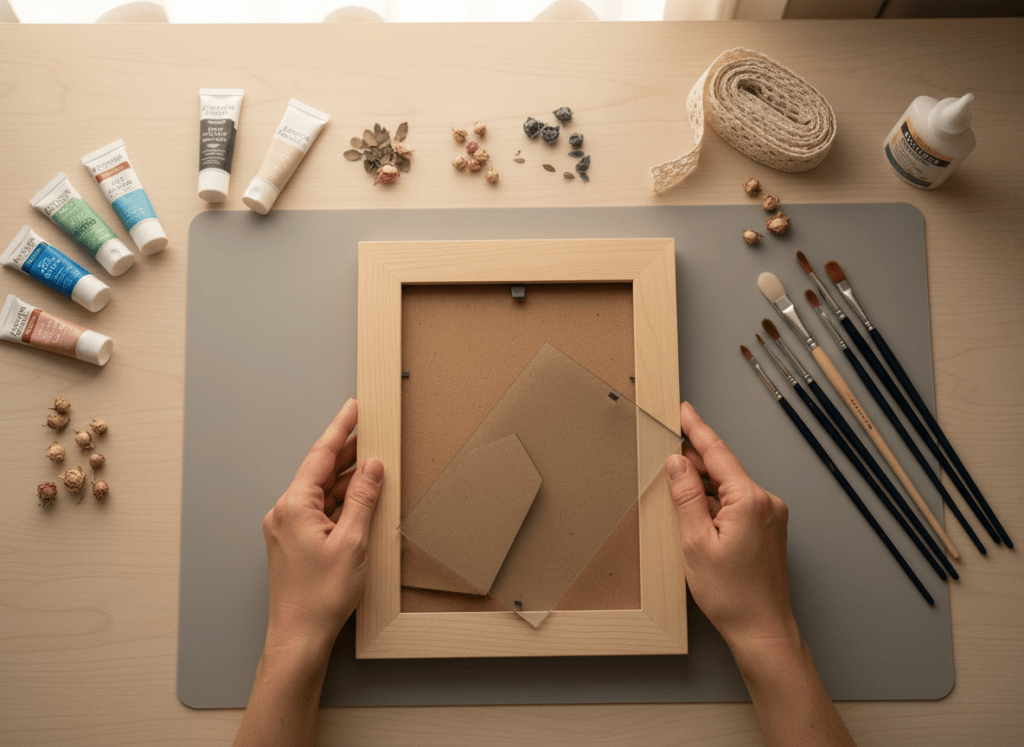
1. Prep the Frame
Remove the backing, insert, and glass before painting. Wipe dust from the frame and protect the work surface so wet paint does not transfer to the pieces that will later touch the photo.
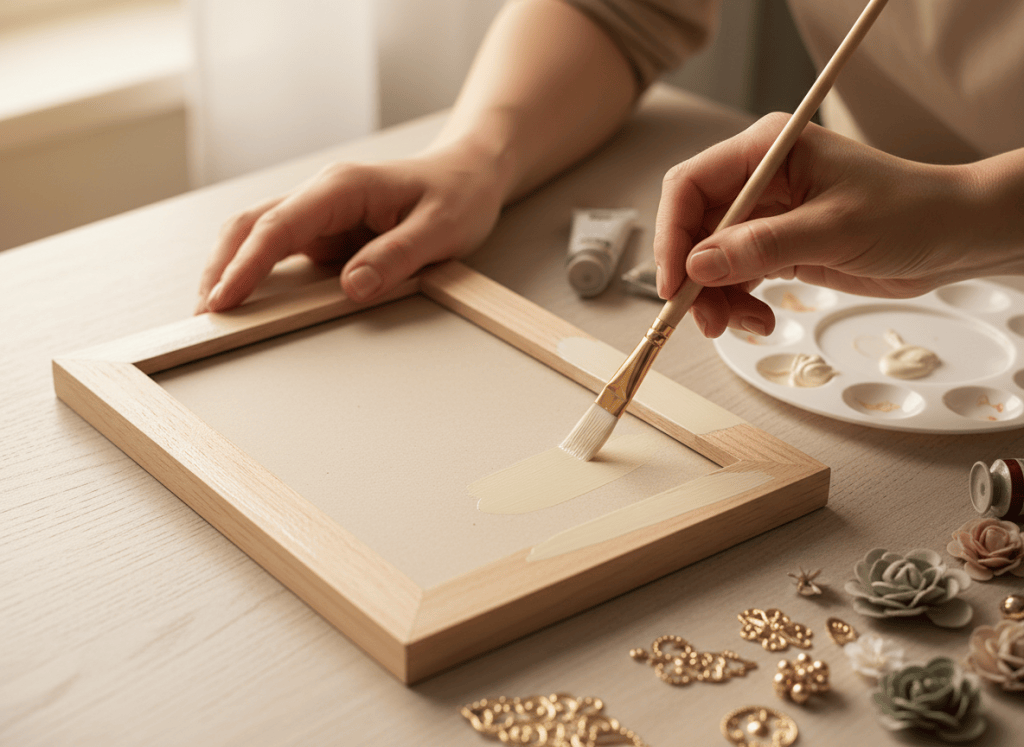
2. Paint Thin, Even Coats
Apply thin coats rather than one heavy layer. Let each coat dry before adding another, especially around inside corners where paint can collect and leave ridges.
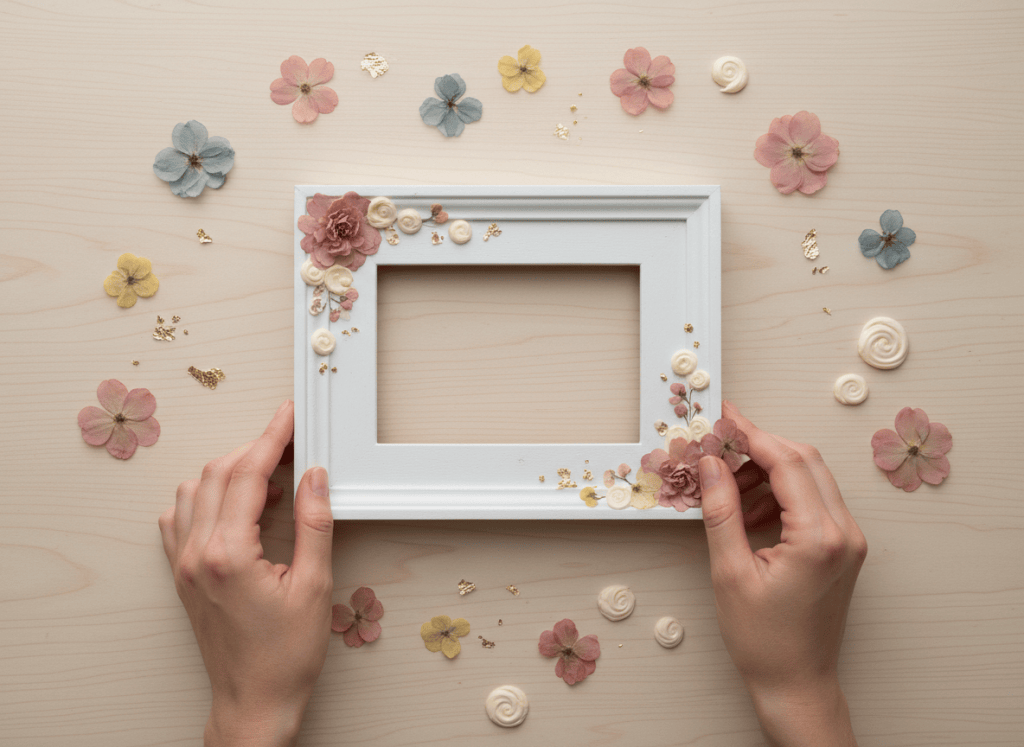
3. Dry-Fit the Decorations
Arrange every flower, trim piece, or accent before adding glue. Step back and look at the whole frame so the corners feel balanced and the photo opening remains clear.
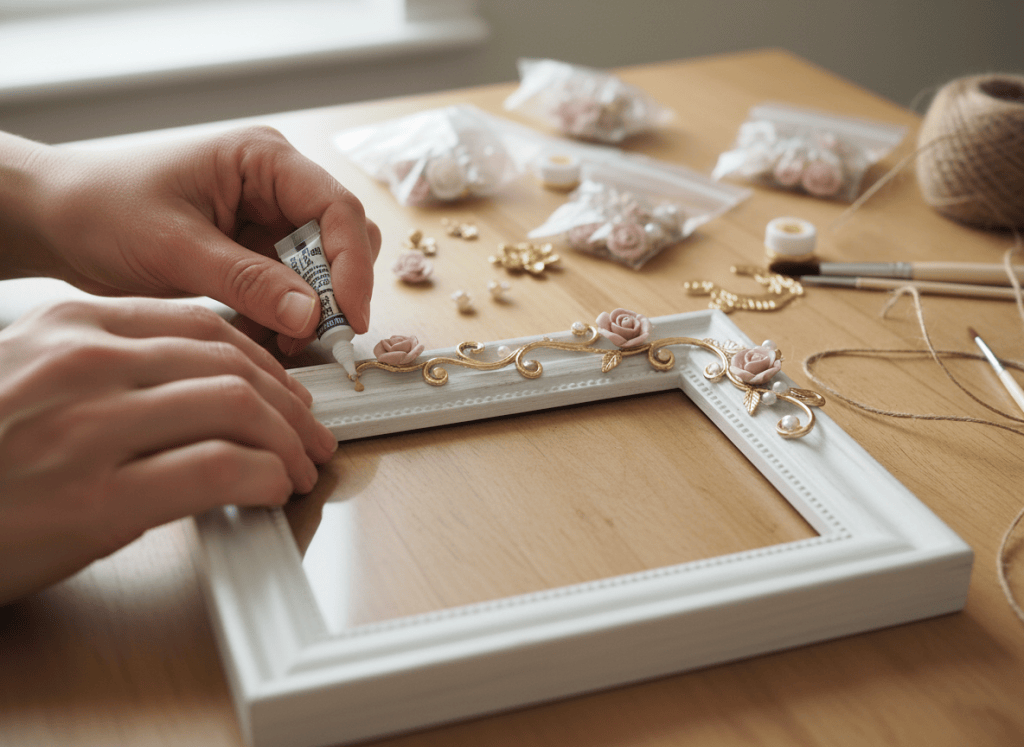
4. Glue, Cure & Reassemble
Secure one embellishment at a time and use only enough adhesive to hold it. Let the glue and paint cure fully before replacing the glass, photo, and backing.
Quick Tip
Take a quick photo of your dry-fit layout before gluing. If pieces shift while you work, the photo shows exactly where each detail was meant to go.
Watch Out
Do not assume one glue works for every material. Check that the adhesive you choose is suitable for the painted frame and the specific embellishment material.
Style Variations
Choose a Theme
- Soft floral keepsake frame
- Coastal shell-and-sand palette
- Metallic modern accents
- Bright frame for children’s artwork
TRY THIS IN SHIMUV
Turn this frame project into a craft video
Create a polished DIY craft video showing how to decorate this picture frame. Begin with the finished frame, show the plain frame and supplies, paint the base, arrange the decorative pieces, glue them in place, allow the finish to dry, and end with the completed frame styled on a desk.Nothing generates or spends credits until you confirm.