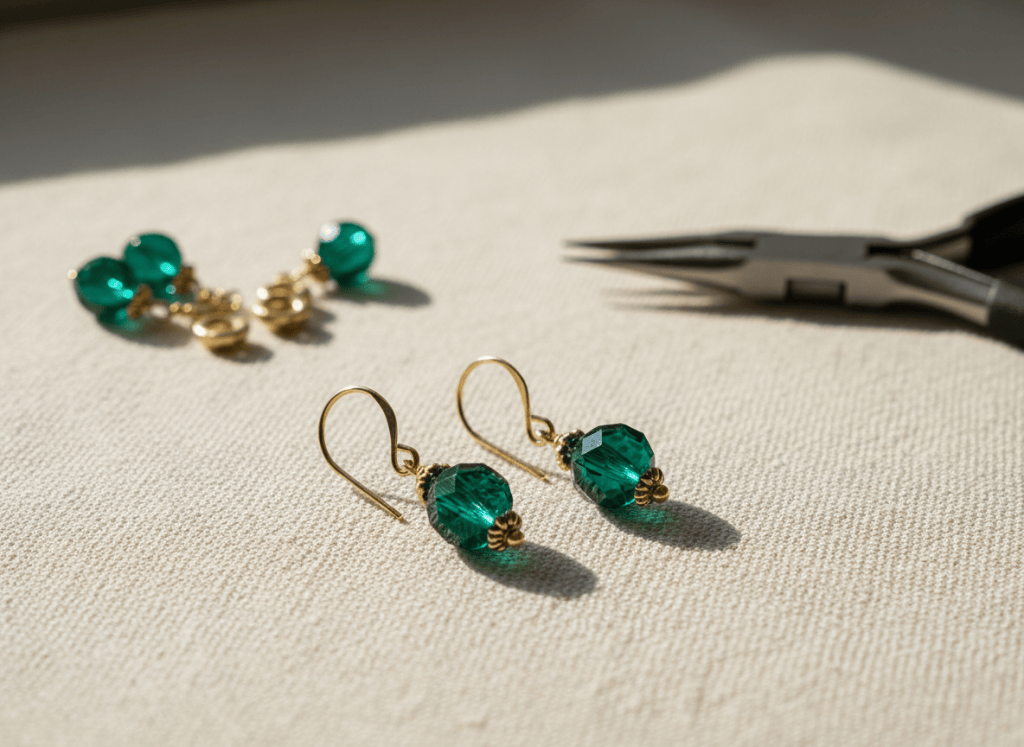
Beaded drop earrings are a great first jewelry project because they teach several useful skills in one small project: planning a balanced bead stack, forming a clean wire loop, opening findings correctly, and checking that a finished pair hangs evenly.
Most of the supplies are standard jewelry-making materials commonly sold in craft stores such as Michaels, Hobby Lobby, JOANN, or similar retailers. Shop by bead size, finding type, and metal finish rather than relying on a particular brand or package.
Beginner Craft Supply List
What You’ll Need
- 2 matching feature beads
- 2 head pins
- 2 ear wires
- Small spacer beads, optional
- Round-nose pliers
- Chain-nose pliers
- Flush cutters
Visual Step-by-Step
Work on both earrings at the same time whenever possible. Comparing the pair after each stage makes small differences in bead order, loop size, and overall length much easier to catch.
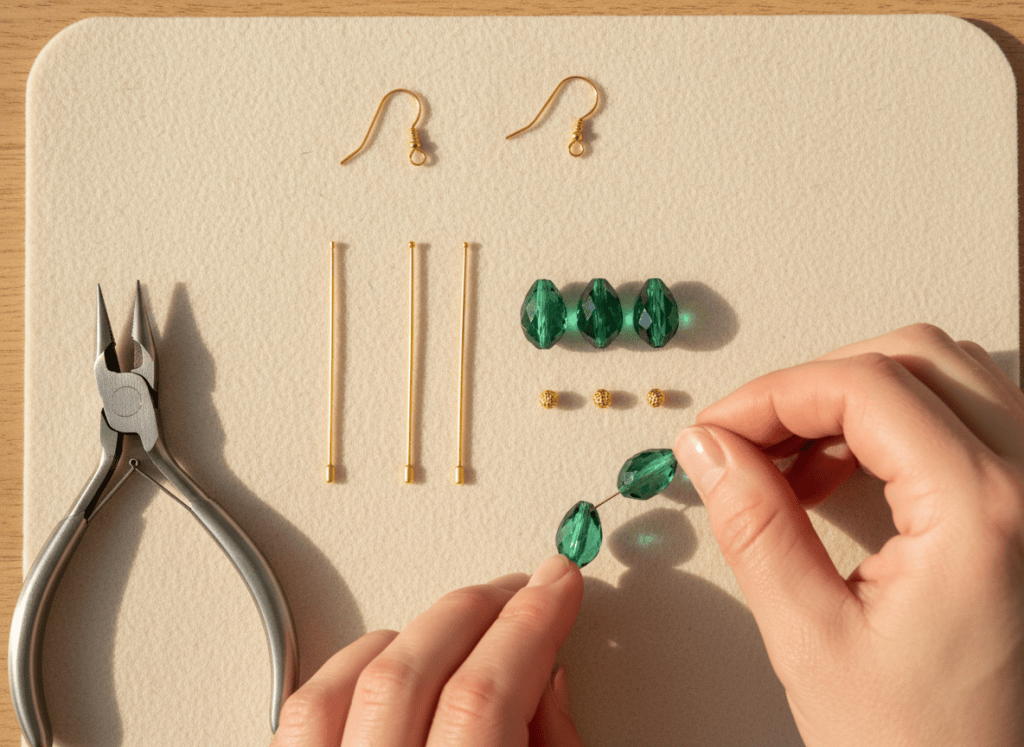
1. Lay Out Both Earrings
Place the two head pins side by side and build the bead stacks before threading anything. Keep the order, bead direction, and spacer placement identical. This simple preview prevents one earring from ending up longer or visually heavier than the other.
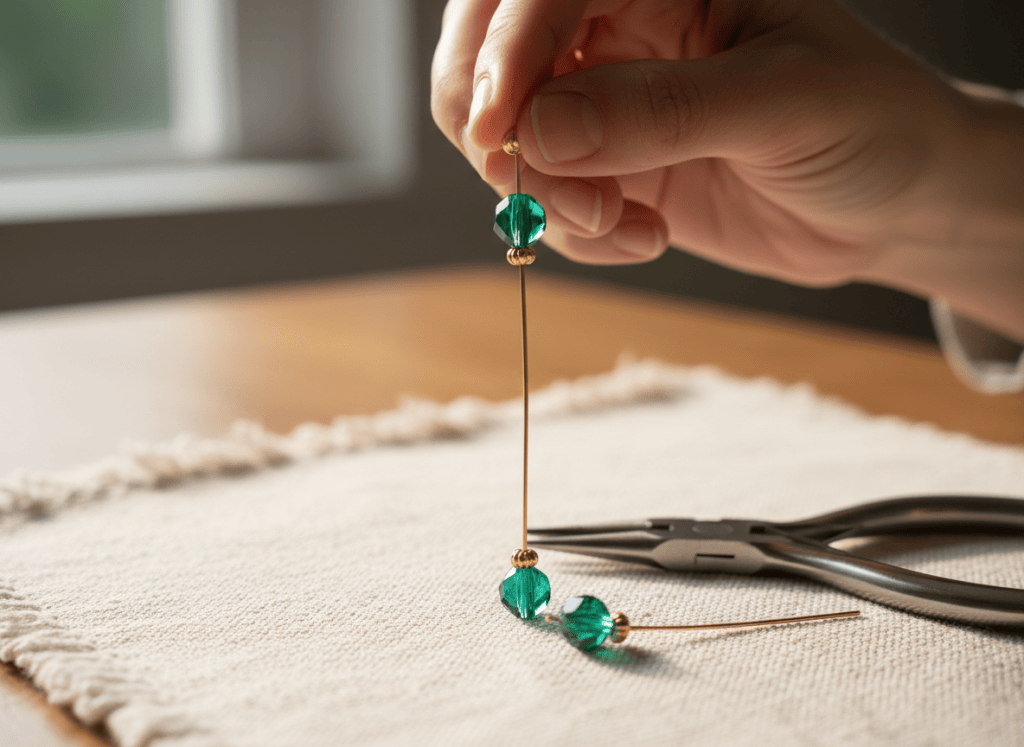
2. Thread the Bead Stack
Slide the beads onto each head pin in the planned order. Leave enough straight wire above the top bead to make the loop. If the stack feels loose or a bead hole is unusually large, add a small spacer so the pieces sit securely.
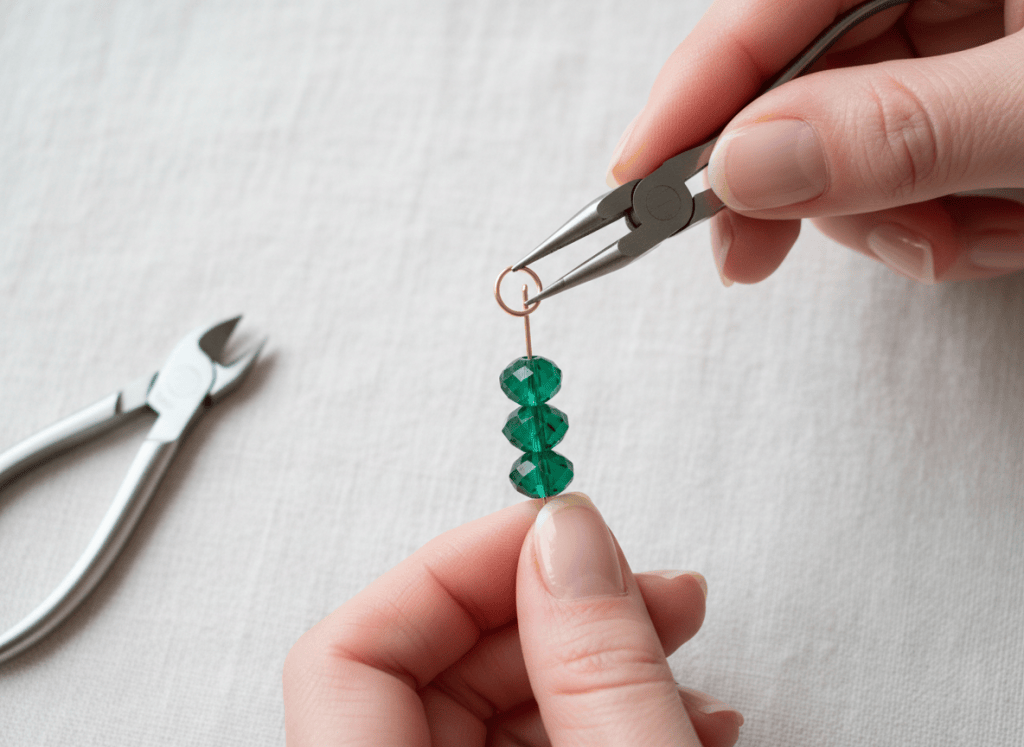
3. Form a Neat Top Loop
Grip the wire just above the top bead with round-nose pliers, bend it away from the bead, then roll it around the plier jaw to create a small loop. Make the second loop at the same point on the pliers so the two loops are similar in diameter.
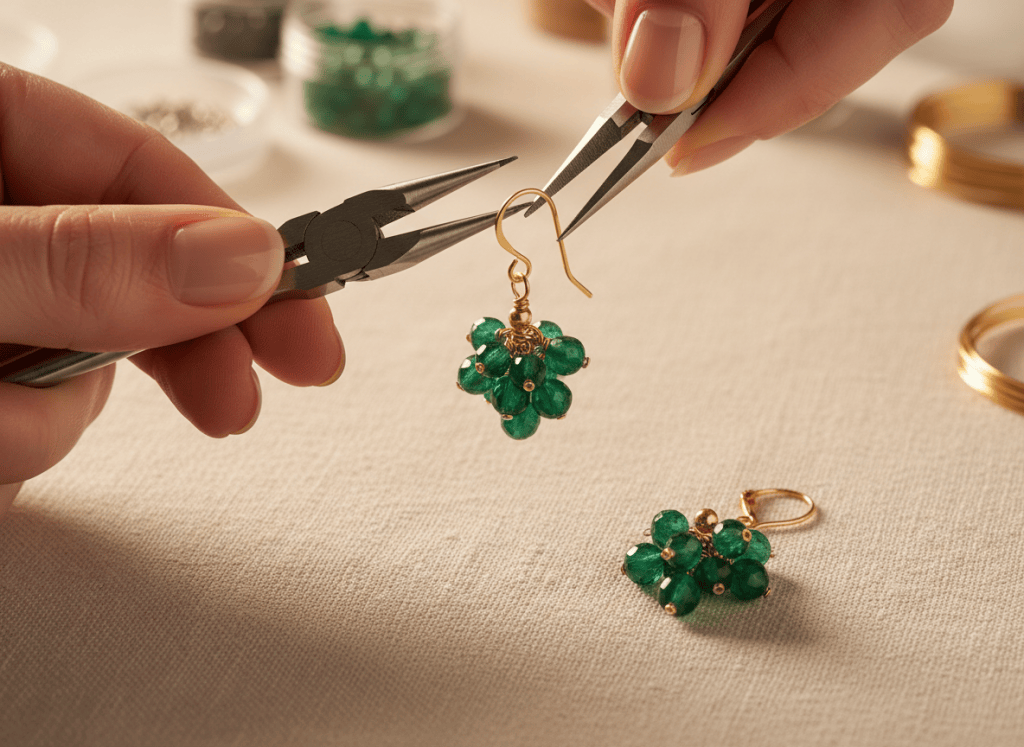
4. Attach the Ear Wires
Open each ear-wire loop sideways, slide on the beaded drop, and twist the loop closed again. The ends of the loop should meet cleanly without a visible gap. Hold the finished pair together and compare length, direction, and movement.
Quick Tip
Use the same spot on the round-nose pliers for both wire loops. Because the jaws taper, moving higher or lower on the pliers changes the loop size.
Watch Out
Do not leave a sharp cut wire end or an open connector loop. Run a fingertip lightly around the finished hardware and re-close or tuck anything that could snag skin, hair, or clothing.
Style Variations
Make the Same Technique Look Completely Different
- Classic: faux pearls with tiny gold-tone spacers.
- Bold: one saturated glass bead with minimal hardware.
- Seasonal: jewel tones for fall and winter or translucent brights for spring and summer.
- Gift set: repeat the same bead palette in a matching necklace or bracelet.
TRY THIS IN SHIMUV
Turn this craft into a step-by-step video
Open the finished-project image and an editable craft-video prompt in Creation Companion.
Create a polished short DIY craft video showing how to make these beaded drop earrings. Begin with the finished earrings, show the beads and jewelry tools, demonstrate threading the head pins, forming loops, attaching ear wires, and finish with a clean reveal of the matching pair.Nothing generates or spends credits until you confirm.