A simple beaded necklace is one of the best projects for learning how jewelry design works. You get practice planning a repeating pattern, judging balance around a center point, stringing without gaps, and finishing the ends so the clasp feels secure.
Beads, beading wire, clasps, crimps, and basic jewelry tools are commonly available in the jewelry-making aisles at Michaels, Hobby Lobby, JOANN, and similar craft retailers. Choose components that are designed to work together, especially the crimp size and wire thickness.
Beginner Craft Supply List
What You’ll Need
- Jewelry beads in your chosen colors
- Beading wire or strong jewelry cord
- Clasp
- 2 crimp beads or tubes
- 2 jump rings, if required by the clasp
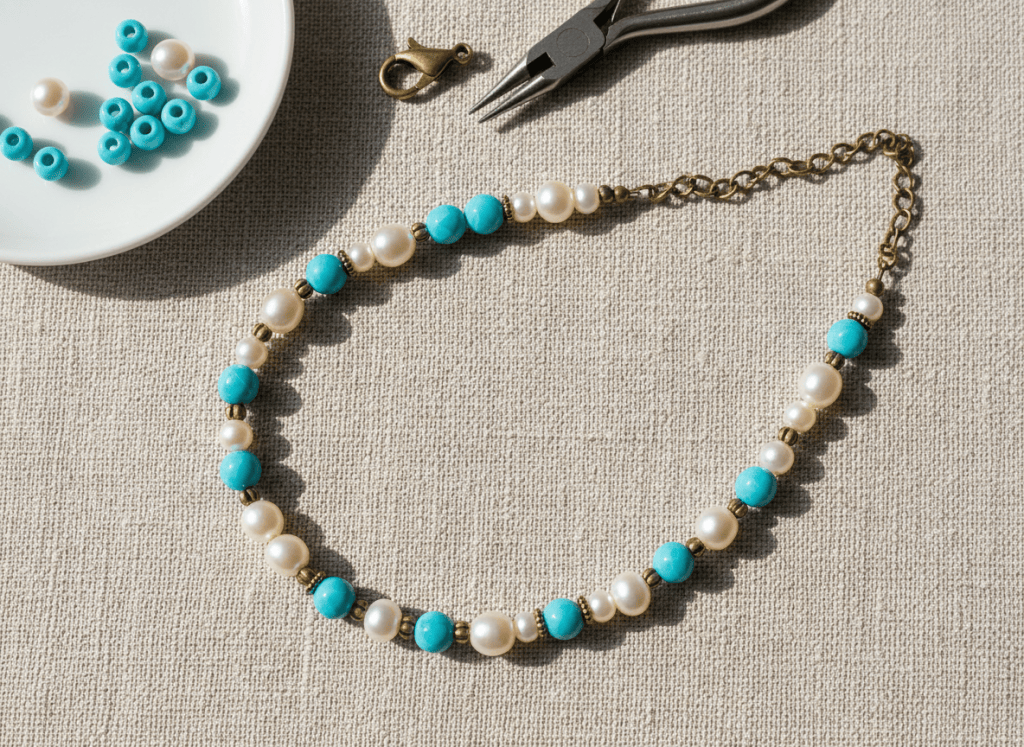
- Crimping or chain-nose pliers
- Flush cutters
Visual Step-by-Step
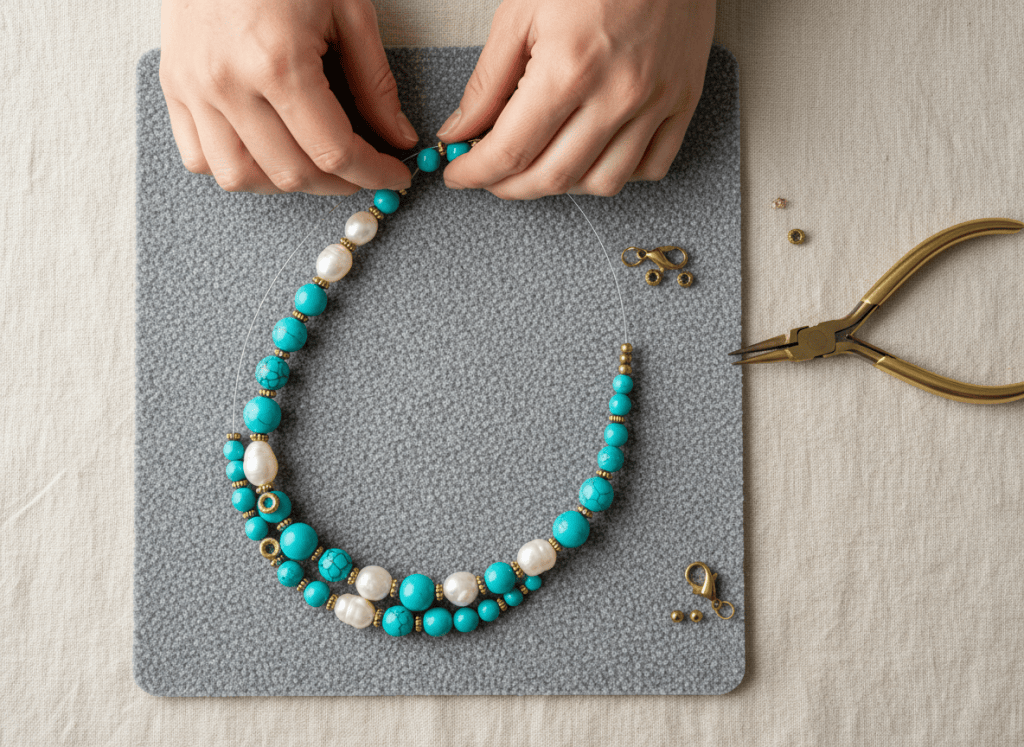
Before cutting the final wire, decide where you want the necklace to sit and test the bead pattern on a flat surface. A few minutes of planning makes the finished necklace look much more intentional.
1. Plan the Pattern & Length
Lay the beads out in the order you want to string them. If you are using a center bead or focal section, build outward from the center so the two sides stay visually balanced. Cut the wire several inches longer than the desired finished length.
2. String With Consistent Spacing
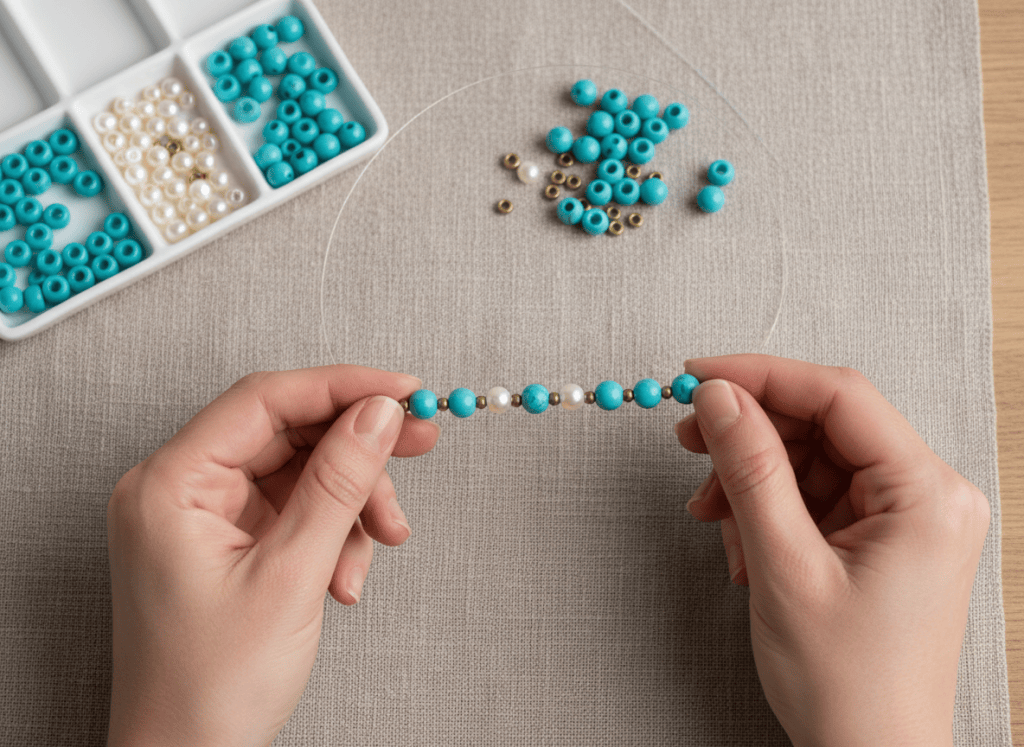
Add the beads in sequence and gently slide them together as you work. Do not force them tight; the strand should still bend naturally. Pause every few inches to compare the developing strand with the pattern you planned.
3. Secure the Clasp
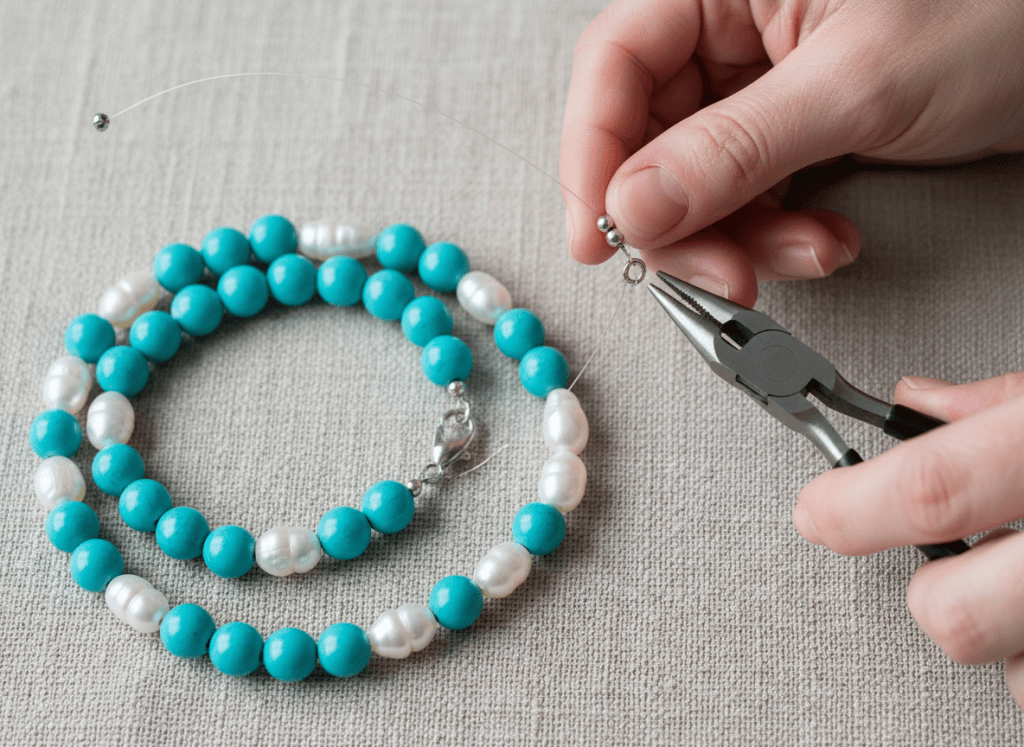
Thread on the crimp and clasp according to the style of findings you purchased. Bring the wire back through the crimp and, when possible, through a few nearby beads before securing it. Crimp firmly enough to hold without crushing the wire.
4. Check the Drape Before Trimming
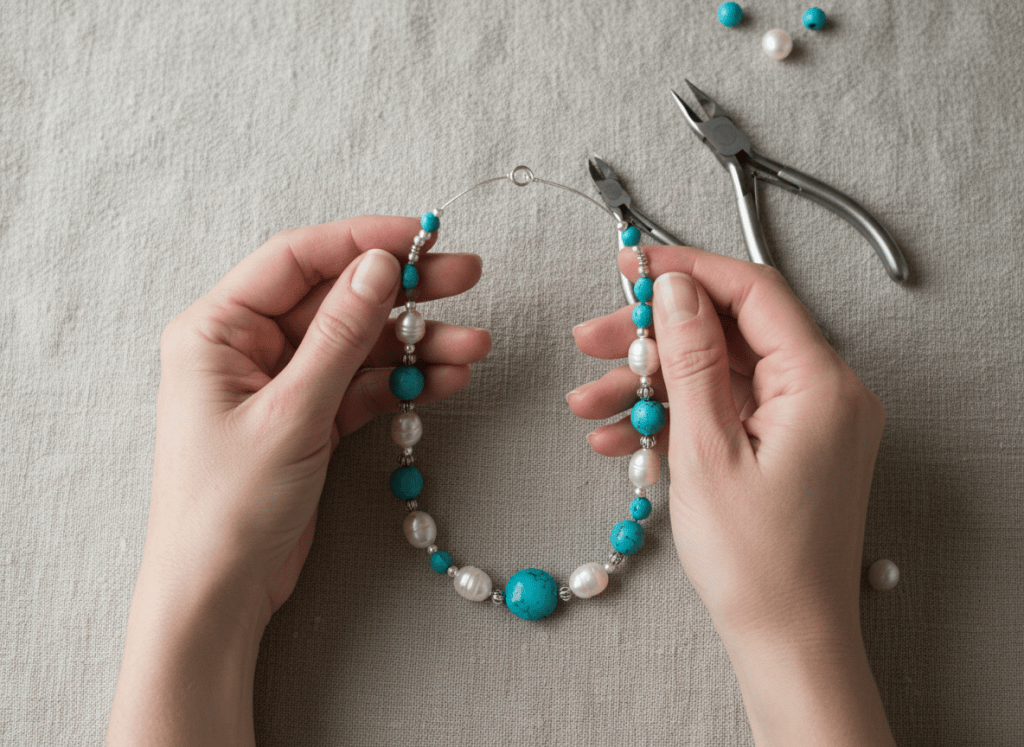
Lift the necklace gently and make sure the strand curves smoothly rather than buckling. Confirm the clasp opens and closes easily, then trim only the excess wire that cannot be tucked neatly into adjacent beads.
Quick Tip
A bead board or even a shallow towel-lined tray keeps round beads from rolling away and lets you preview the entire pattern before committing to the stringing order.
Watch Out
Do not make the strand so tight that the beads cannot move slightly. An overly rigid necklace can kink instead of curving comfortably around the neck.
Style Variations
Use One Pattern, Change the Mood
- Coastal: turquoise-colored beads with creamy faux pearls.
- Natural: wood beads with warm neutral spacers.
- Modern: one monochrome color family with a simple metal clasp.
- Personalized: add a small initial or focal charm near the center.
TRY THIS IN SHIMUV
Turn this necklace tutorial into a video
Create a bright step-by-step DIY craft video showing how to make this beaded necklace. Start with the finished necklace, show the bead layout and tools, demonstrate measuring, stringing the bead pattern, attaching the clasp, trimming the ends, and end with the finished necklace displayed neatly.Nothing generates or spends credits until you confirm.