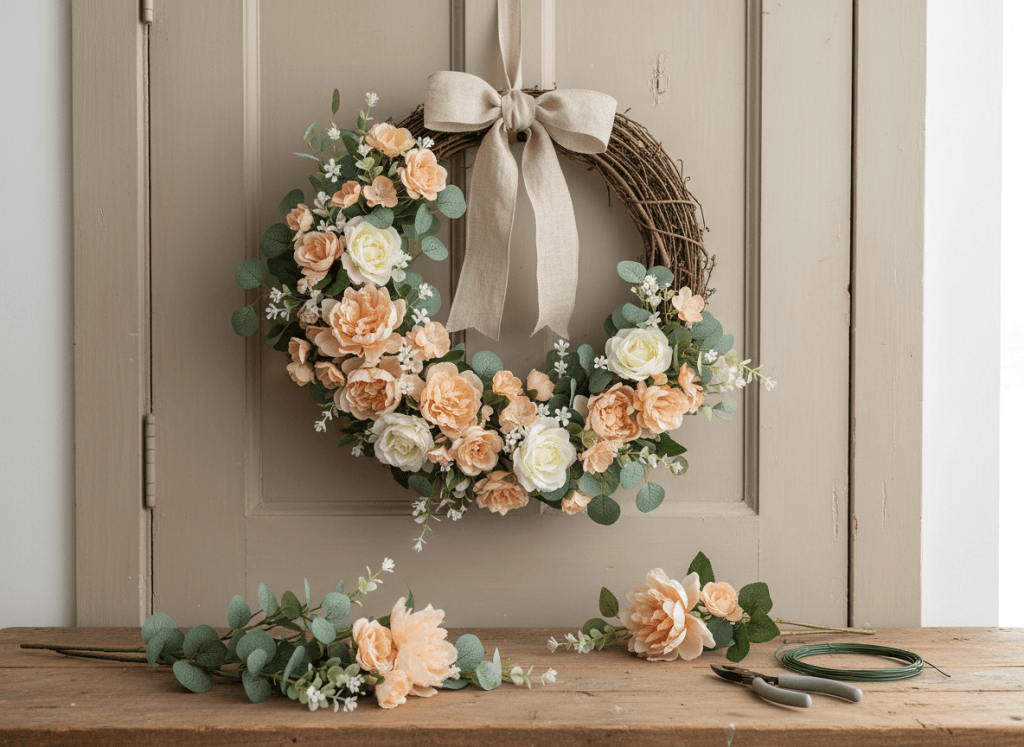
A floral wreath is an approachable home-decor project because the grapevine form already provides structure. The main design work is deciding where the arrangement should sit, layering greenery before flowers, and building from the largest focal blooms down to the smallest filler pieces.
Grapevine wreath forms, faux greenery, floral stems, floral wire, ribbon, and cutters are commonly available at Michaels, Hobby Lobby, JOANN, and similar craft retailers. Seasonal flower selections vary, so shop by color and shape rather than expecting one exact stem.
Beginner Craft Supply List
What You’ll Need
- Grapevine wreath form
- Faux eucalyptus or leafy greenery
- 3–5 floral stems in coordinating colors
- Floral wire
- Wire cutters
- Ribbon, optional
Visual Step-by-Step
An asymmetrical wreath is especially beginner-friendly because you do not have to fill the whole circle. Concentrate the design on one side or along the lower curve and let the natural grapevine remain visible.
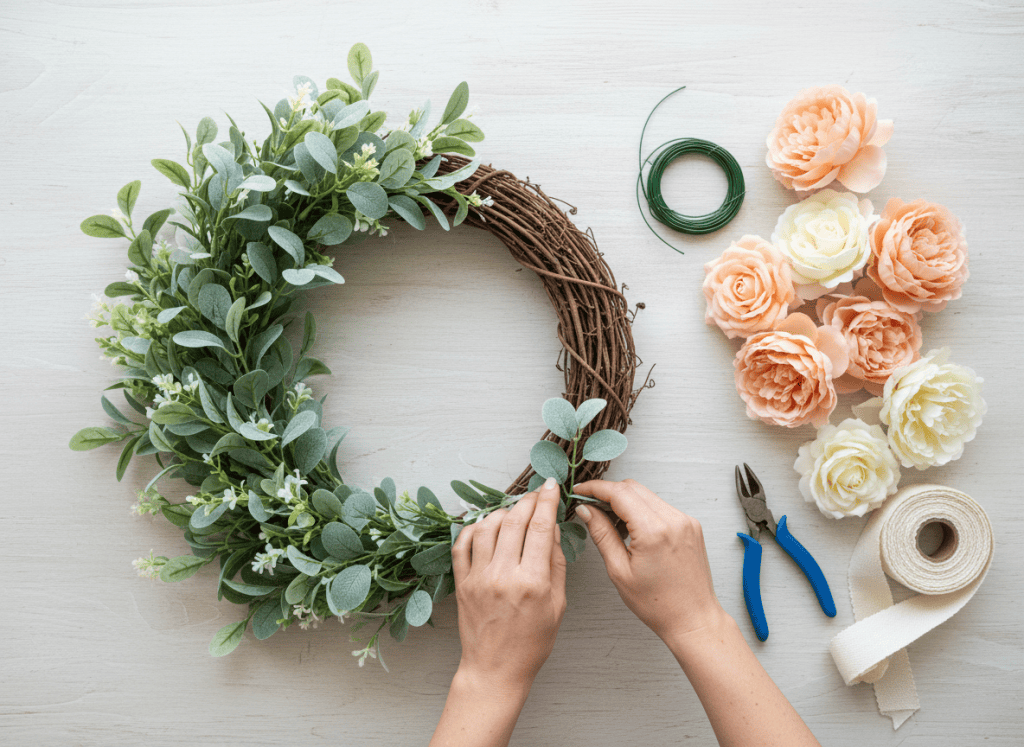
1. Choose the Focal Area
Set the wreath on the table and decide where the finished cluster should sit. Lay greenery loosely over that area first, allowing some stems to point outward so the design has movement instead of forming a tight block.
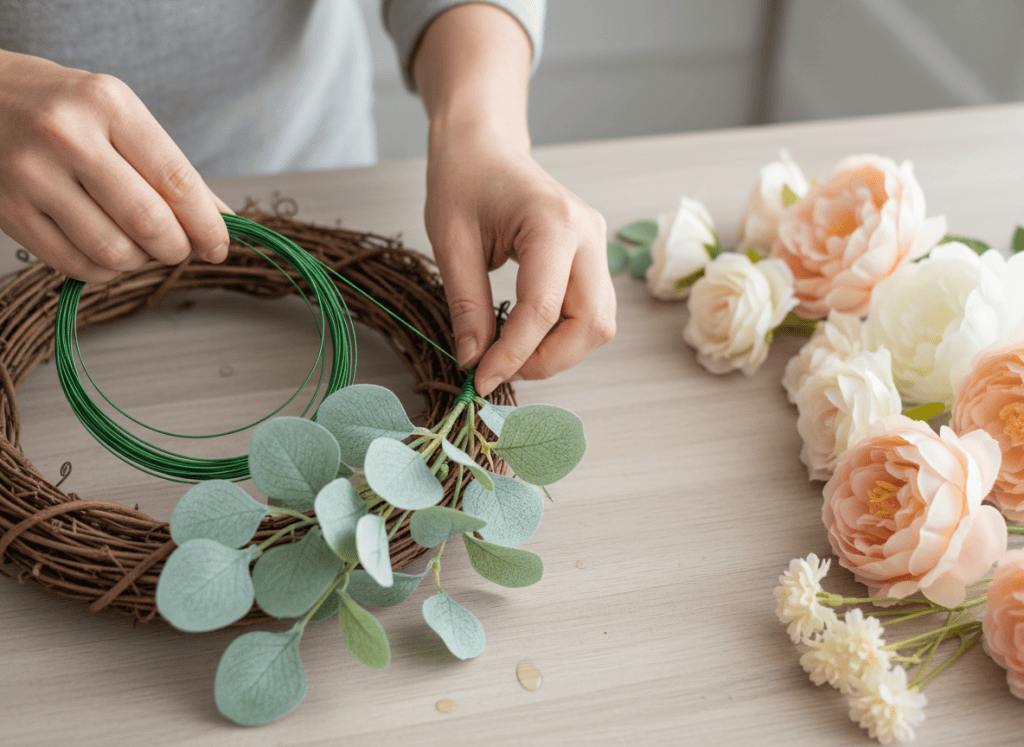
2. Secure the Greenery Layer
Tuck sturdy stems into the grapevine and use floral wire where the greenery feels loose. Layer stems in roughly the same direction so the arrangement flows around the wreath instead of pointing randomly.
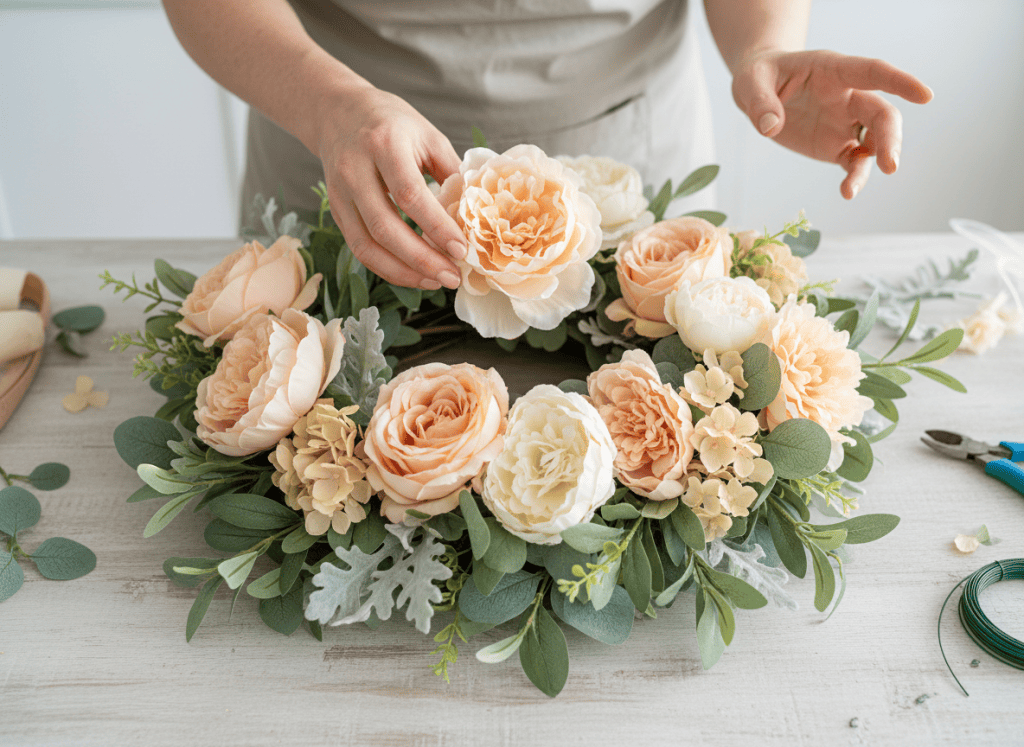
3. Place the Largest Flowers
Add the largest blooms before the small fillers. Start with an odd-numbered cluster such as three focal flowers, varying their height and angle slightly so the grouping feels natural rather than perfectly lined up.
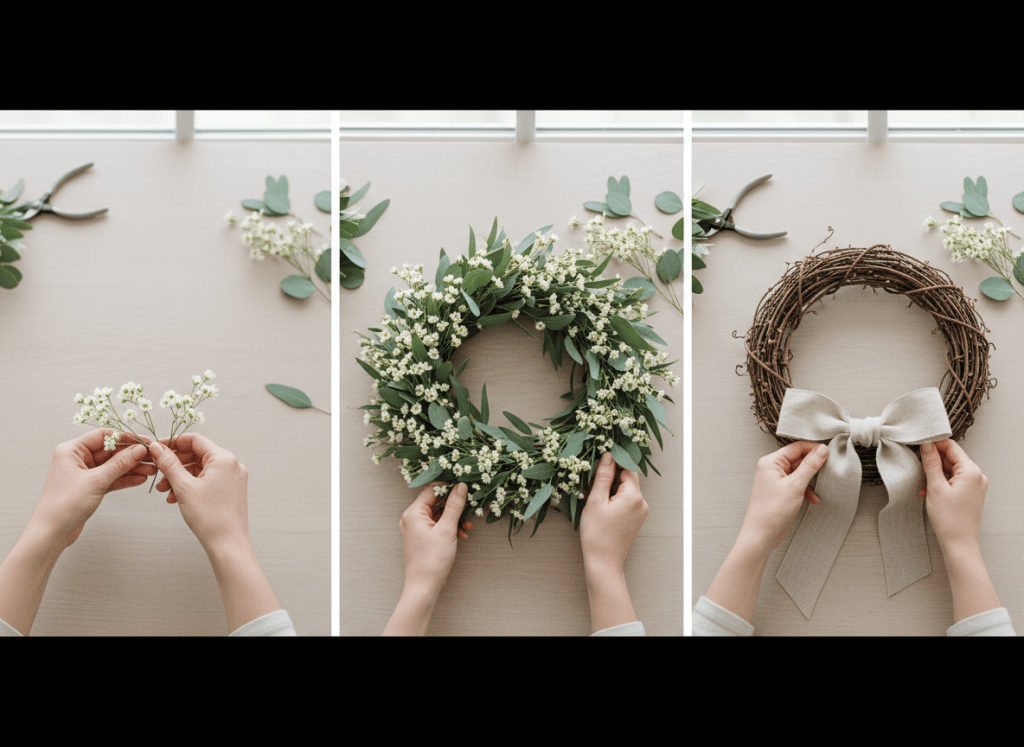
4. Fill the Gaps & Add Ribbon
Use smaller flowers and short greenery pieces to soften empty spots and hide visible wire. Finish with a ribbon or hanging loop if desired, then stand the wreath upright and make final adjustments from the viewing angle.
Quick Tip
Do a full dry arrangement before securing the flowers. Take a photo once you like the placement; then remove and attach the pieces one at a time using the photo as your map.
Watch Out
Floral wire ends can be sharp. Twist or tuck cut ends into the back of the grapevine so they do not scratch the door, wall, or your hands when the wreath is moved.
Style Variations
Change It With the Seasons
- Spring: soft pink, lavender, and pale greenery.
- Summer: bright florals with fuller green leaves.
- Fall: warm leaves, berries, rust, and cream.
- Winter: evergreen-style stems, berries, and ribbon.
TRY THIS IN SHIMUV
Turn this wreath tutorial into a craft video
Create a fresh DIY craft video showing how to make this floral wreath. Start with the finished wreath, show the grapevine form and floral stems, layer greenery, place the focal flowers, secure the arrangement with floral wire, add ribbon, and finish with the wreath displayed on a neutral door.Nothing generates or spends credits until you confirm.