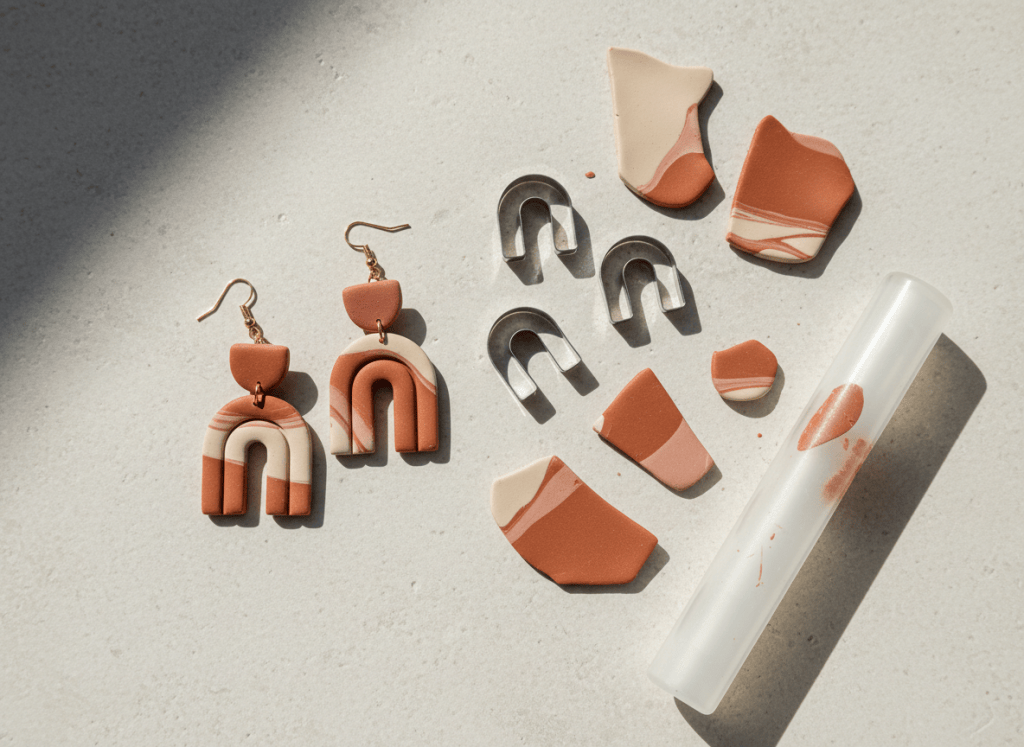
Polymer clay earrings are ideal for experimenting with shape and color because small amounts of clay can create a full pair. The keys are even thickness, matching pieces, clean connector holes, and following the clay manufacturer’s baking directions exactly.
Polymer clay, cutters, rollers, jewelry findings, and pliers are commonly available at craft stores such as Michaels, Hobby Lobby, JOANN, and similar retailers.
Beginner Craft Supply List
What You’ll Need
- Polymer clay in 2–3 colors
- Acrylic roller or smooth craft roller
- Small clay cutters
- Needle tool or toothpick for holes
- Jump rings and earring posts or hooks
- Jewelry pliers
- Parchment-lined baking surface
Visual Step-by-Step
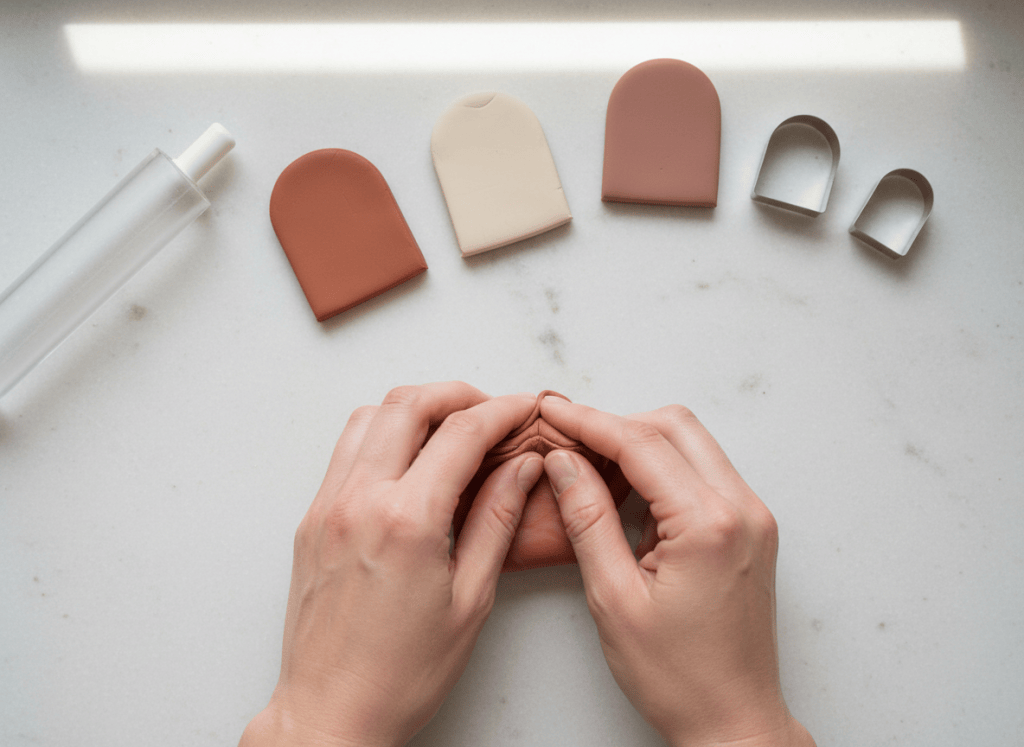
1. Condition the Clay
Knead each color until it bends smoothly without cracking. Warm, conditioned clay rolls more evenly and is less likely to develop rough edges when cut.
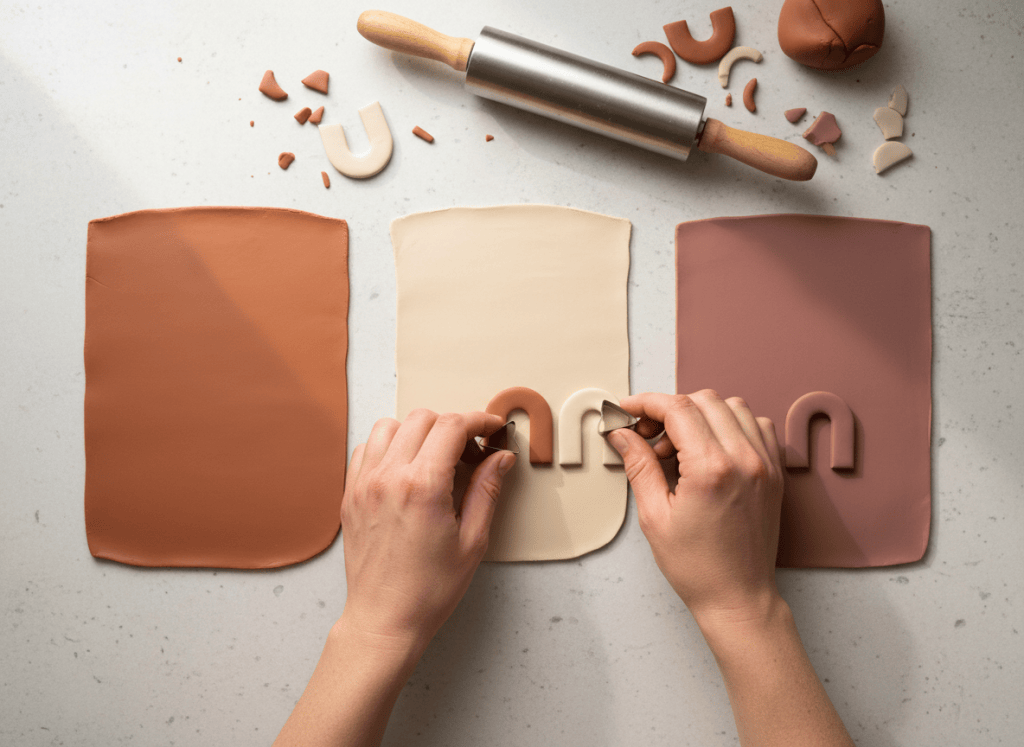
2. Roll Evenly & Cut Pairs
Roll the clay to an even thickness, then cut both left and right pieces before moving the sheet. Compare matching pieces side by side and recut any piece that is noticeably different.
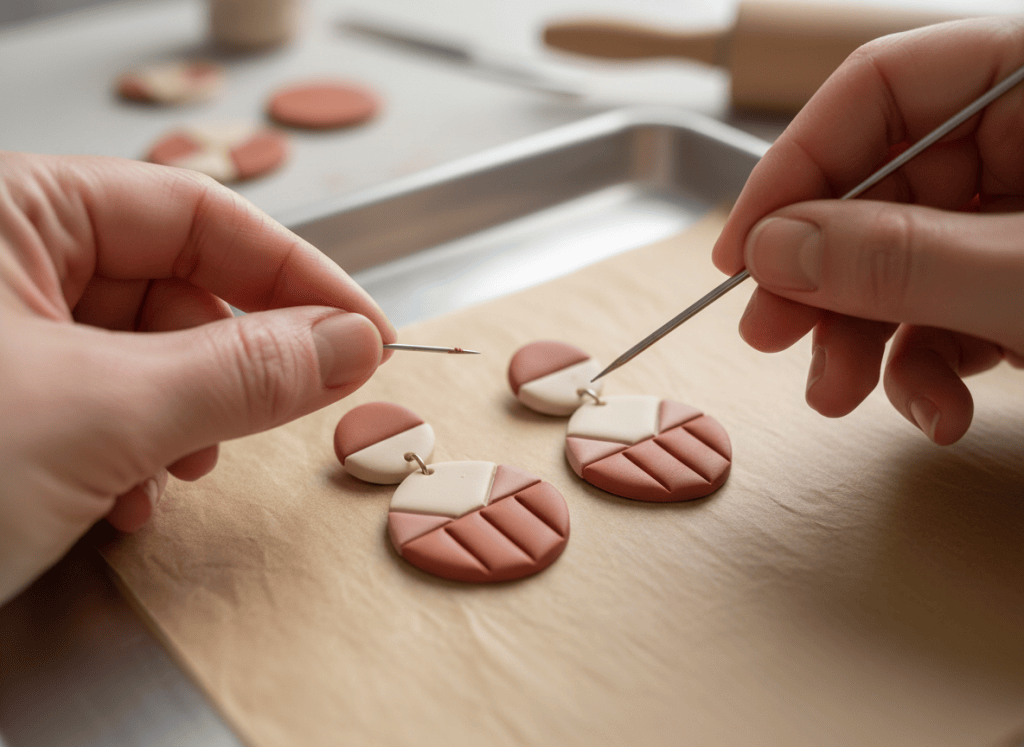
3. Add Connector Holes
Make the holes before baking and keep them far enough from the edge that the clay will not split when the jump ring is added. Check that the holes line up across matching pieces.
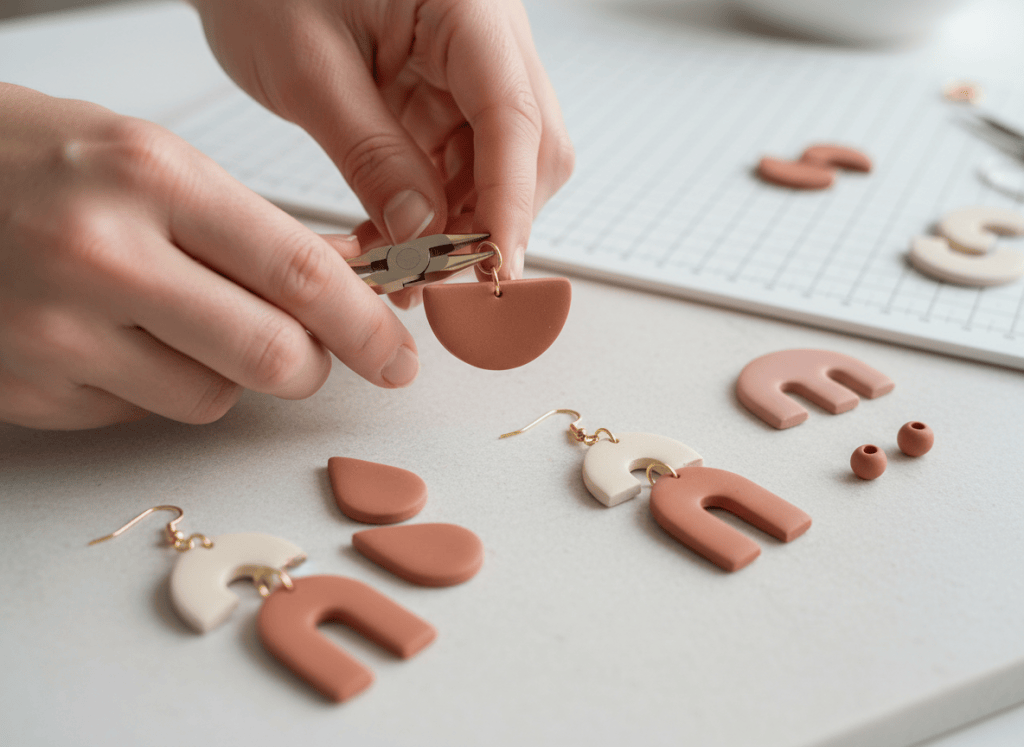
4. Bake, Cool & Assemble
Bake only according to the directions on your clay package and let every piece cool fully. Then use jump rings to join the pieces and add the earring hooks or posts.
Quick Tip
Cut two pieces at a time from the same rolled sheet. That makes it much easier to keep the pair the same thickness and size.
Watch Out
Do not guess the baking temperature or time. Different polymer clays can have different directions, so use the instructions on the exact product you purchased.
Style Variations
Mix Shapes & Colors
- Terrazzo speckles
- Marbled neutrals
- Bold geometric color blocking
- Seasonal palettes with the same cutters
TRY THIS IN SHIMUV
Turn this clay-earring tutorial into a video
Create a warm DIY craft video showing how to make these polymer clay earrings. Show the finished pair, conditioning and rolling the clay, cutting matching shapes, adding holes, the baked pieces, attaching jump rings and hooks, and end with the finished earrings on a clean display.Nothing generates or spends credits until you confirm.