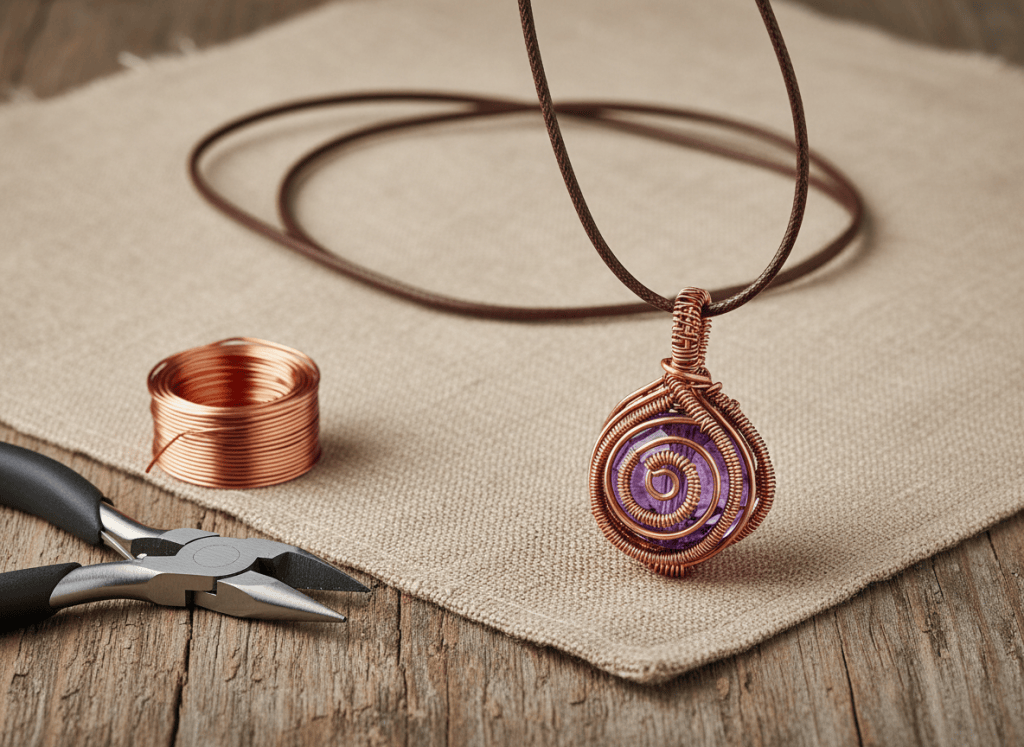
Wire wrapping lets you turn a favorite focal bead into a pendant without soldering. A beginner wrap should do two things well: hold the focal piece securely and create a smooth bail at the top for the necklace cord or chain.
Flexible jewelry craft wire, focal beads, cords, chains, and jewelry pliers are commonly available in craft-store jewelry sections. If you are new to wire work, choose a wire that bends comfortably with hand tools.
Beginner Craft Supply List
What You’ll Need
- Focal bead or smooth pendant piece
- Flexible jewelry craft wire
- Round-nose pliers
- Chain-nose pliers
- Flush cutters
- Necklace cord or chain
Visual Step-by-Step
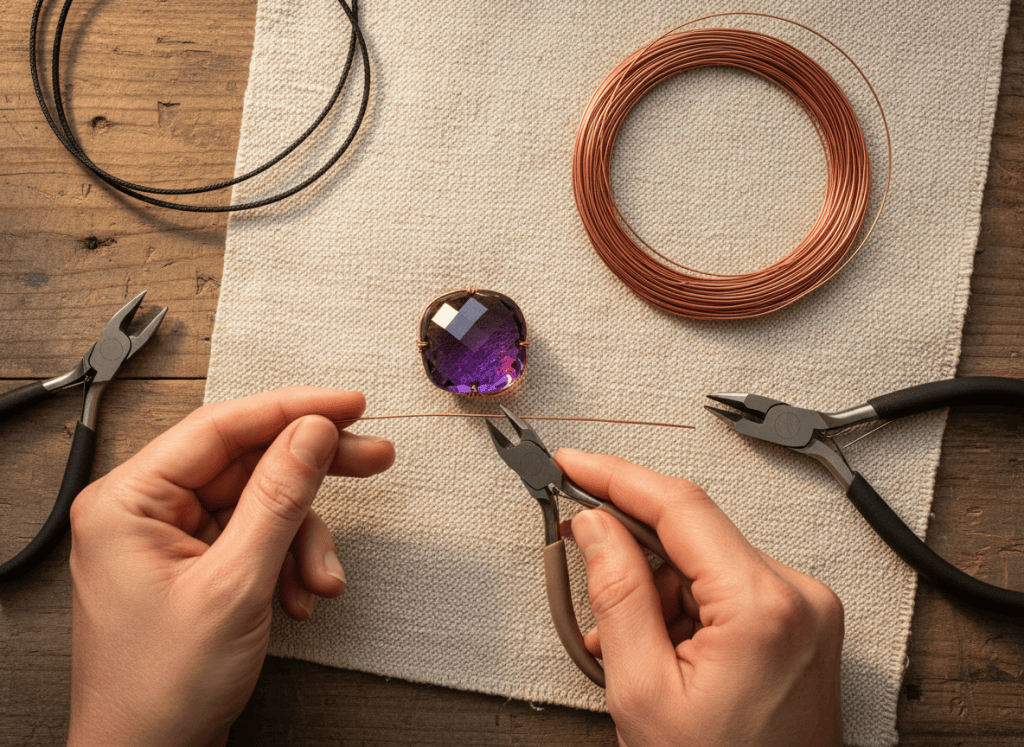
1. Cut More Wire Than You Need
Give yourself enough wire to anchor the bead, build the decorative wrap, and form the bail. Extra wire is easier to trim later than a wrap that runs short before the top is finished.
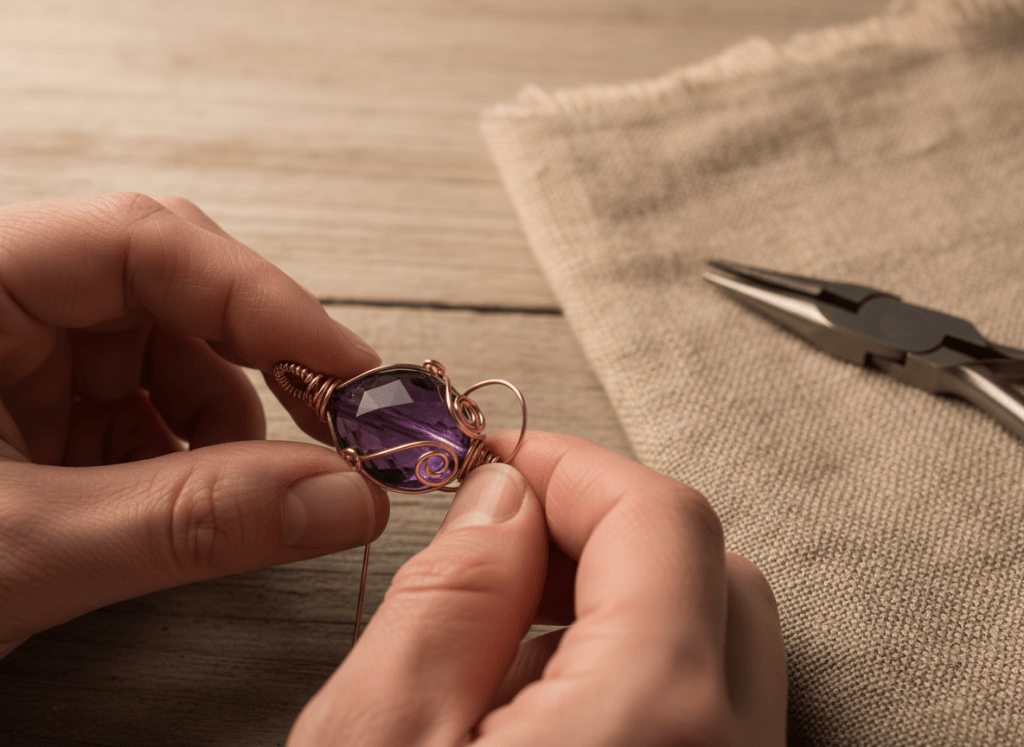
2. Anchor the Focal Piece
Build the first wire passes around the lower and side edges so the focal piece cannot slide out. Test the hold gently before adding decorative crossings.
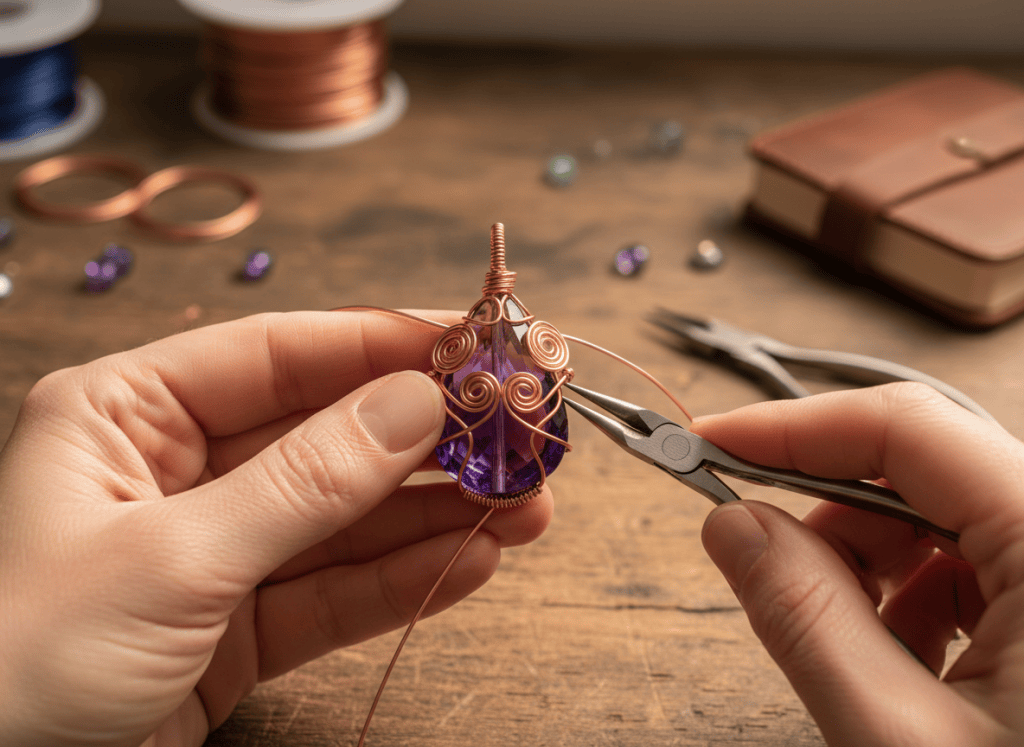
3. Build the Decorative Wrap
Cross or coil the wire where it adds both support and visual interest. Keep checking the front so the wrap feels intentional instead of hiding the focal bead.
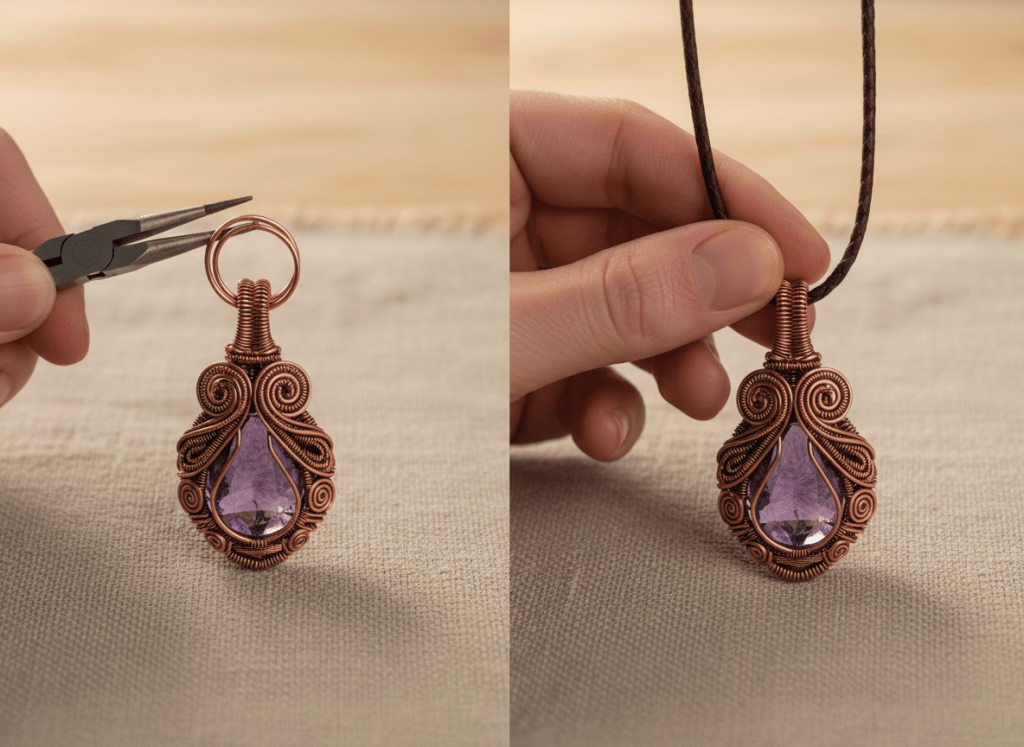
4. Form the Bail & Finish
Create a sturdy loop at the top large enough for your cord or chain. Trim excess wire, press cut ends inward, and thread the pendant onto the necklace only after every wire end feels smooth.
Quick Tip
Rotate the pendant often while wrapping. Looking at the piece from the front, back, and side helps you catch loose wire before the design becomes harder to adjust.
Watch Out
Freshly cut wire can be sharp. Do not leave the trimmed end pointing outward; use pliers to tuck it into the wrap where it cannot catch skin or clothing.
Style Variations
Change the Wire & Focal Piece
- Copper-tone wire for warmth
- Silver-tone wire for a cleaner modern look
- Glass beads for color and sparkle
- Simple cord for a casual pendant finish
TRY THIS IN SHIMUV
Turn this pendant tutorial into a craft video
Create a detailed DIY craft video showing how to make this wire-wrapped pendant necklace. Start with the finished pendant, show the wire and tools, demonstrate anchoring the focal bead, building the wrap, creating the top bail, trimming the wire safely, adding the cord, and finish with a close-up reveal.Nothing generates or spends credits until you confirm.