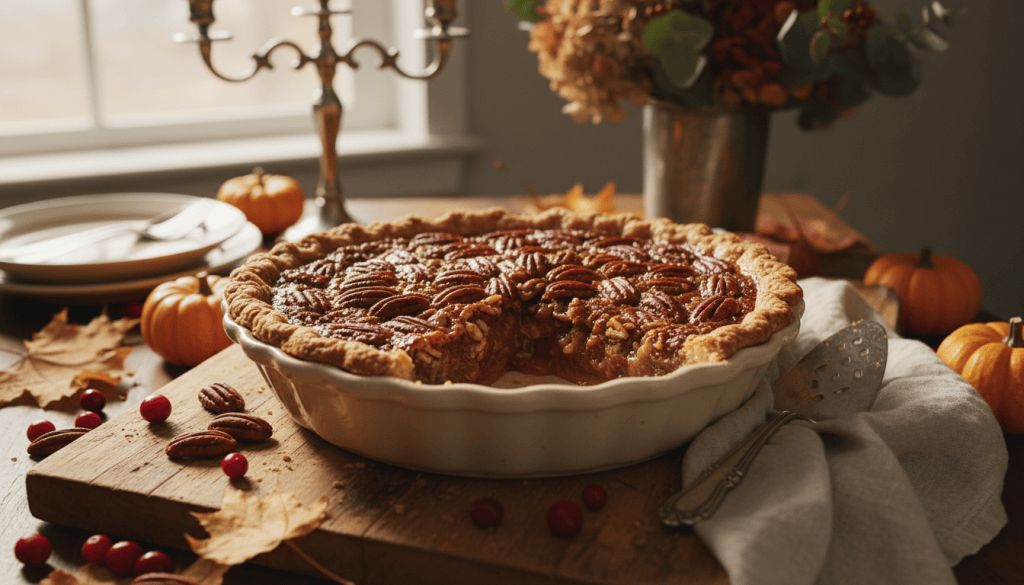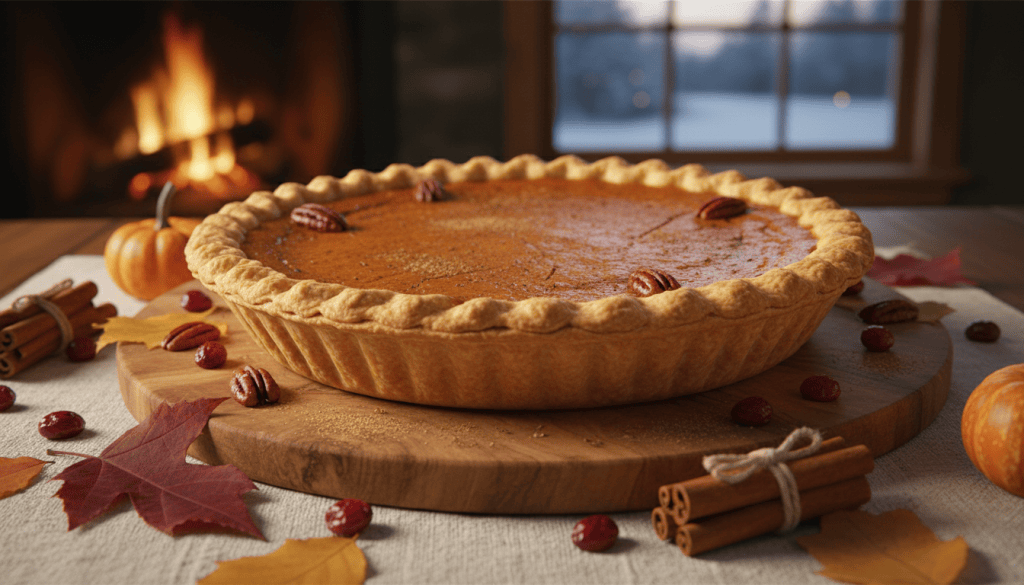
Classic pumpkin pie is a Thanksgiving dessert built around a smooth custard filling with cinnamon, ginger, nutmeg, and a flaky crust. The challenge is baking the custard until set without cracking or turning grainy.
A slightly wobbly center is a good sign when the pie leaves the oven. Residual heat finishes the custard as it cools, giving the finished slice a silky texture.
What You’ll Need Before You Start
- 9-inch pie plate
- Large mixing bowl
- Whisk
- Sheet pan
- Foil or pie shield
- Instant-read thermometer, optional
ShiMuv Holiday Recipe
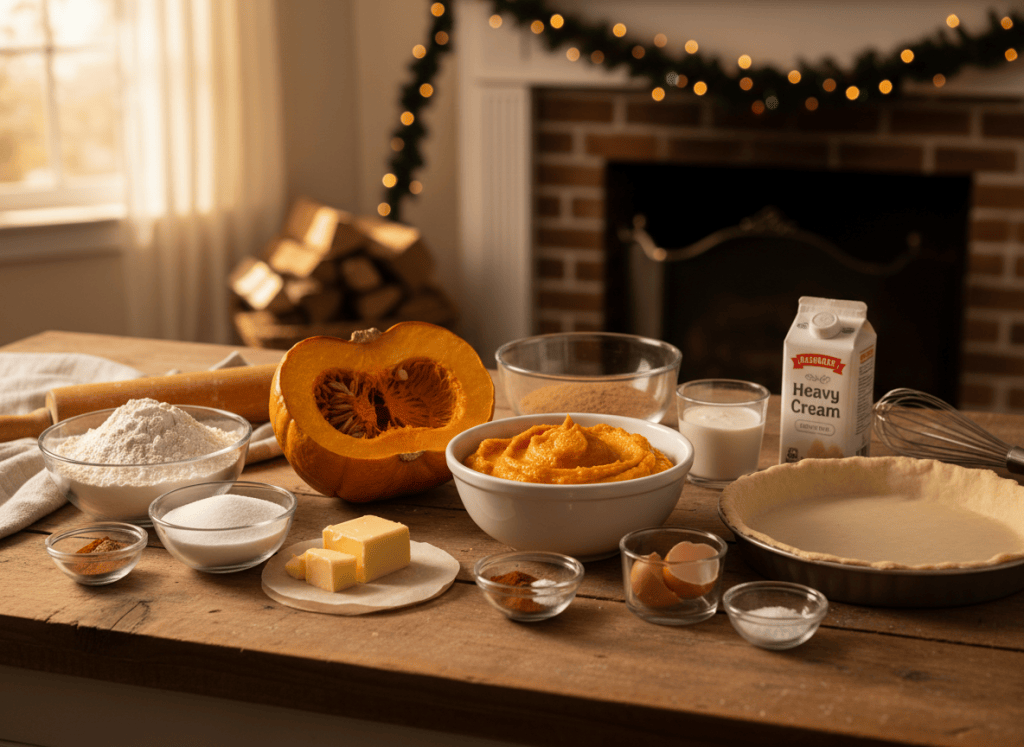
Ingredients
- 1 unbaked 9-inch pie crust, chilled
- 1 can pumpkin purée, 15 ounces
- 3 large eggs
- ¾ cup packed brown sugar
- ¼ cup granulated sugar
- 1¼ cups evaporated milk
- 1½ teaspoons ground cinnamon
- ½ teaspoon ground ginger
- ¼ teaspoon ground nutmeg
- ⅛ teaspoon ground cloves
- ½ teaspoon kosher salt
- 1 teaspoon vanilla extract
How to Make It
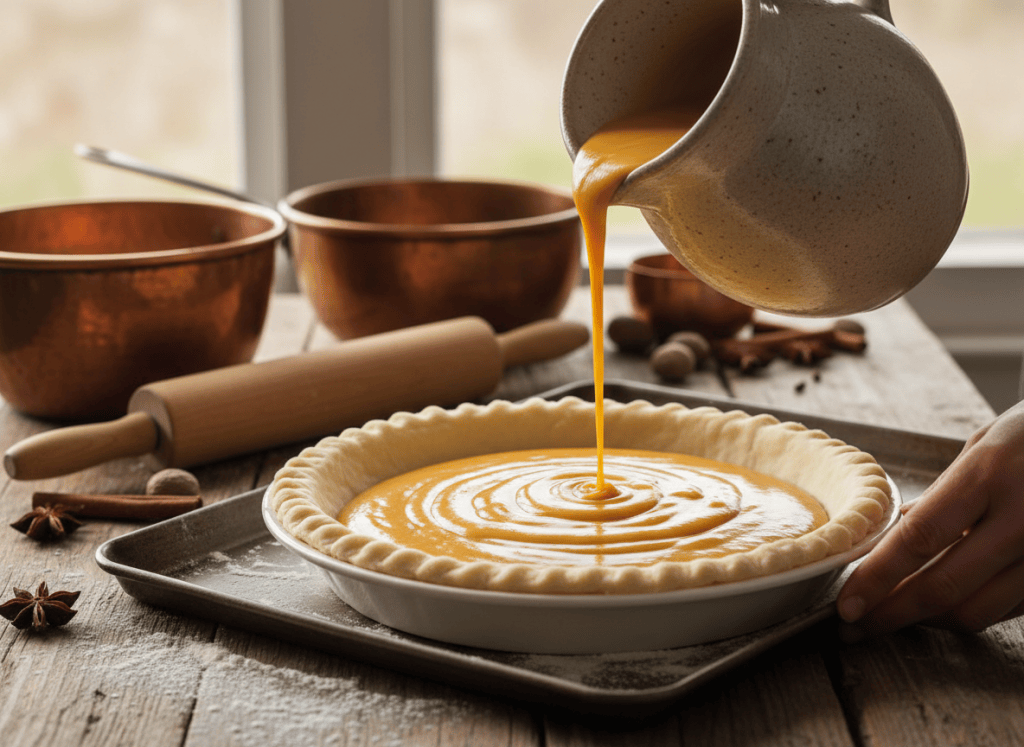
- Heat the oven to 425°F with a rack in the lower third. Fit the chilled crust into a 9-inch pie plate, crimp the edge, and keep it refrigerated while you mix the filling.
- Whisk pumpkin, eggs, brown sugar, granulated sugar, cinnamon, ginger, nutmeg, cloves, salt, and vanilla until completely smooth.
- Slowly whisk in evaporated milk. Mix only until combined; whipping in lots of air can create bubbles that rise and crack the surface.
- Set the pie plate on a sheet pan and pour in the filling. Tap the pan gently once or twice to release large air bubbles.
- Bake at 425°F for 15 minutes, then reduce the oven to 350°F without removing the pie. Continue baking 35–45 minutes.
- Shield the crust edge with foil if it browns too quickly. The outer 2 inches of filling should look set while the center still moves in a small gelatin-like wobble.
- For extra assurance, check the center with an instant-read thermometer; about 175°F gives a set custard without overbaking. Remove the pie before the center becomes completely rigid.
- Cool on a rack at least 2 hours before slicing. Refrigerate after cooling if not serving promptly, and add whipped cream only when ready to serve.
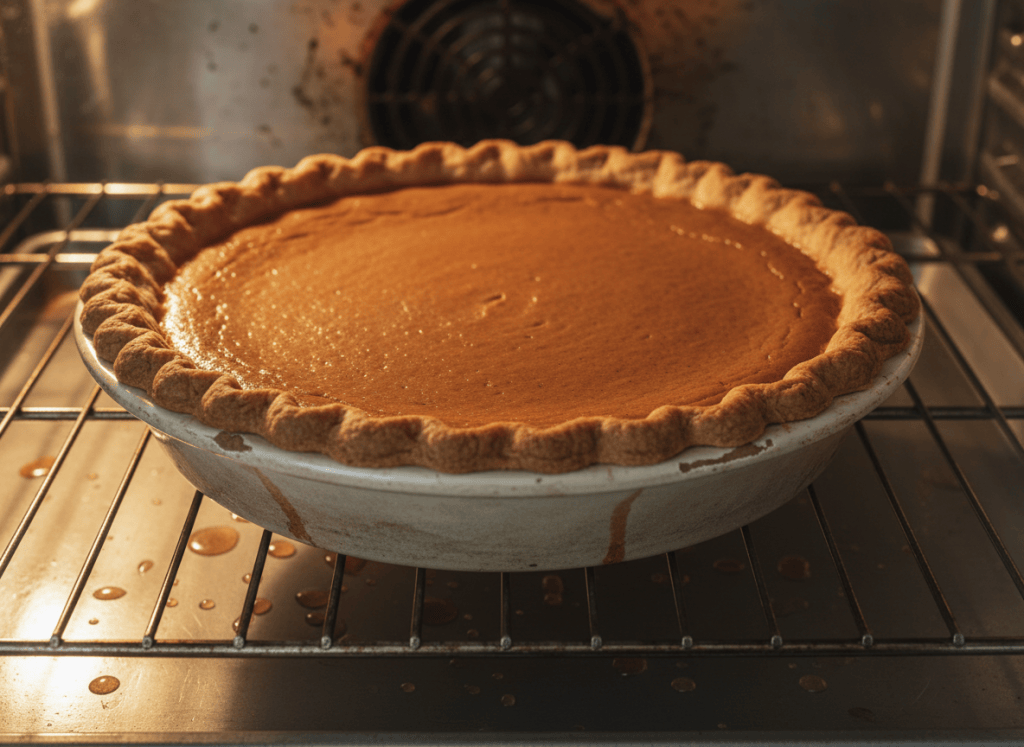
Recipe tip: Do not bake until the center looks completely firm; pumpkin custard continues setting as it cools and can crack if overbaked.
Food safety: Pumpkin pie is an egg-and-dairy custard. Refrigerate it within 2 hours of cooling and keep chilled for storage.
From Recipe to Content
Turn the Recipe Into a Simple Food Story
- Open on the finished holiday dish.
- Show the measured ingredients before cooking.
- Capture silky pumpkin custard filling being poured into a chilled crimped pie crust on a sheet pan.
- Film pumpkin pie in the oven with set edges and a gently wobbly center near the end of baking.
- End with a serving close-up.
TRY THIS IN SHIMUV
Create this recipe as a short food video
Open the editable prompt and finished example image in ShiMuv, then review or customize everything before generation.
Create a short Thanksgiving food video showing how to make classic pumpkin pie. Open on a clean slice with silky filling and flaky crust. Show the crust fitted and crimped, pumpkin eggs sugar and spices whisked smooth, evaporated milk added, filling poured into the shell, the pie baking until the edges set and center still wobbles, and the cooled pie sliced with whipped cream.Opens with this prompt and finished example image ready to review. Nothing generates or spends credits until you confirm.