
A small drywall hole is one of those home repairs that looks more intimidating than it usually is. For a minor cosmetic hole, the basic process is straightforward: clean the area, fill it, smooth it, sand it, and repaint it.
The same project also makes strong educational content for handymen, painters, property managers, home-service businesses, and DIY creators because viewers can clearly see the before-and-after transformation.
What You Need for a Small Drywall Patch
- Lightweight spackling or patching compound
- Putty knife
- Fine-grit sanding sponge or sandpaper
- Clean cloth
- Primer, if needed
- Matching wall paint
- For slightly larger holes, a self-adhesive mesh patch may be useful
Step 1: Clean and Prepare the Area
Remove loose paper, dust, or crumbling material around the damaged area. Wipe away residue so the patching compound can bond to a clean surface.
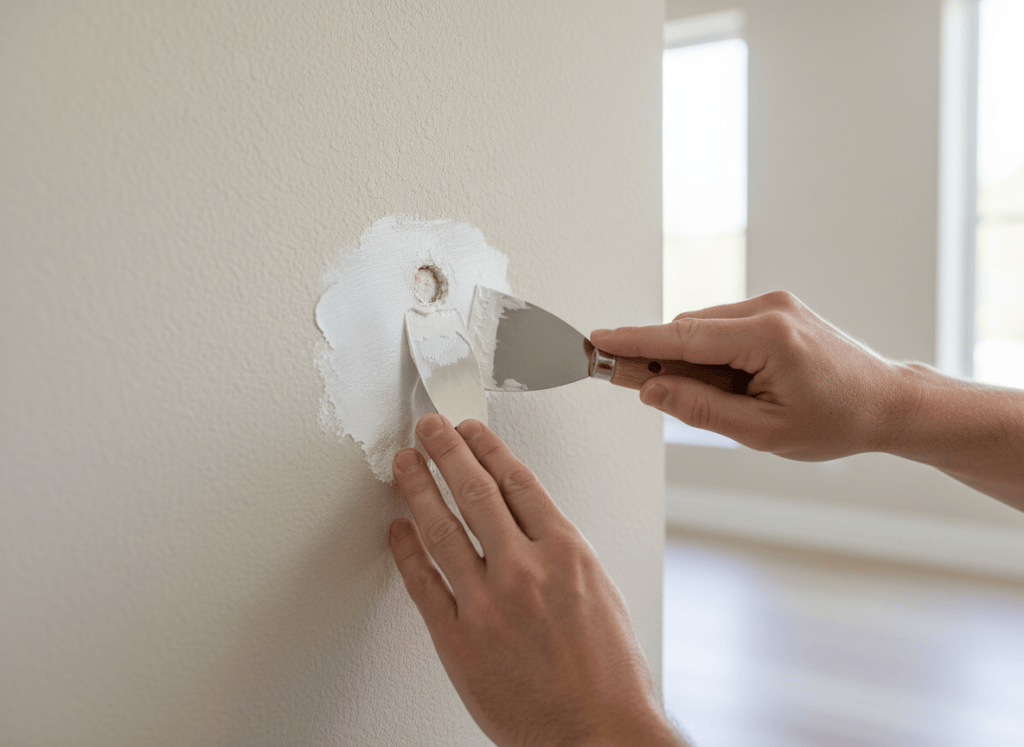
Step 2: Apply the Patching Compound
Use the putty knife to press a small amount of compound into the hole. Spread a thin layer beyond the damaged area, feathering the edges so the repair blends into the surrounding wall.
Step 3: Let It Dry Completely
Follow the drying time on the product label. A patch that feels dry on the surface may still be soft underneath, so avoid sanding too early.
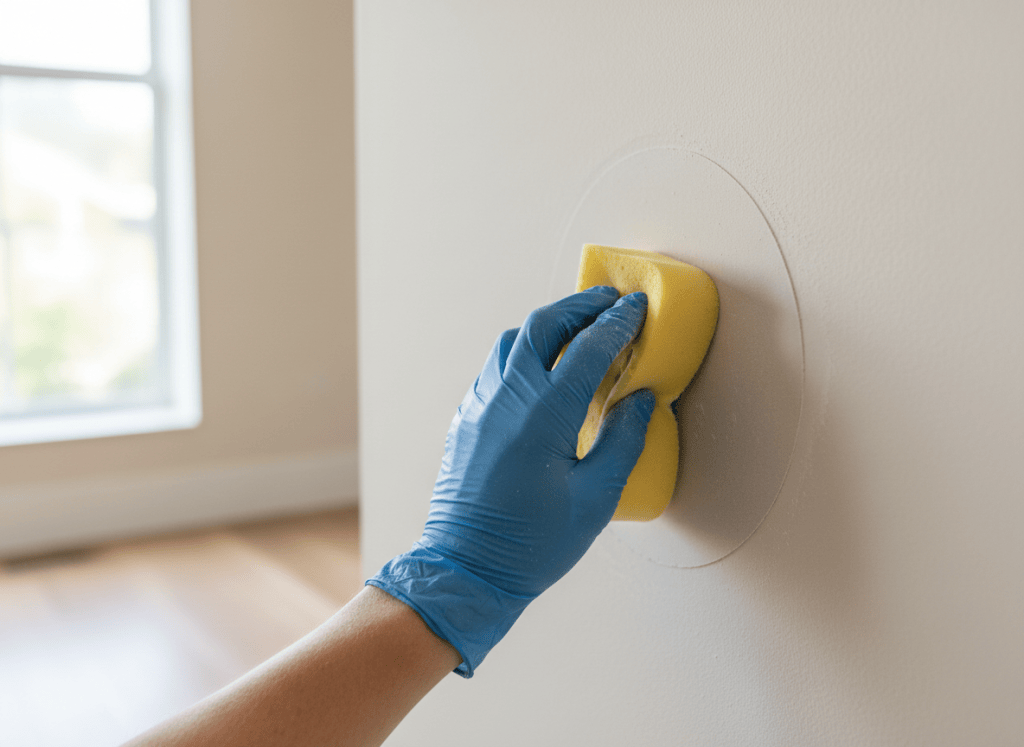
Step 4: Sand the Patch Smooth
Sand lightly until the patched area feels level with the wall. The goal is a smooth transition—not removing so much material that the hole becomes visible again.
Step 5: Prime and Paint
If the patch absorbs paint differently from the surrounding wall, a small amount of primer can help create a more even finish. Then apply matching paint and allow it to dry.
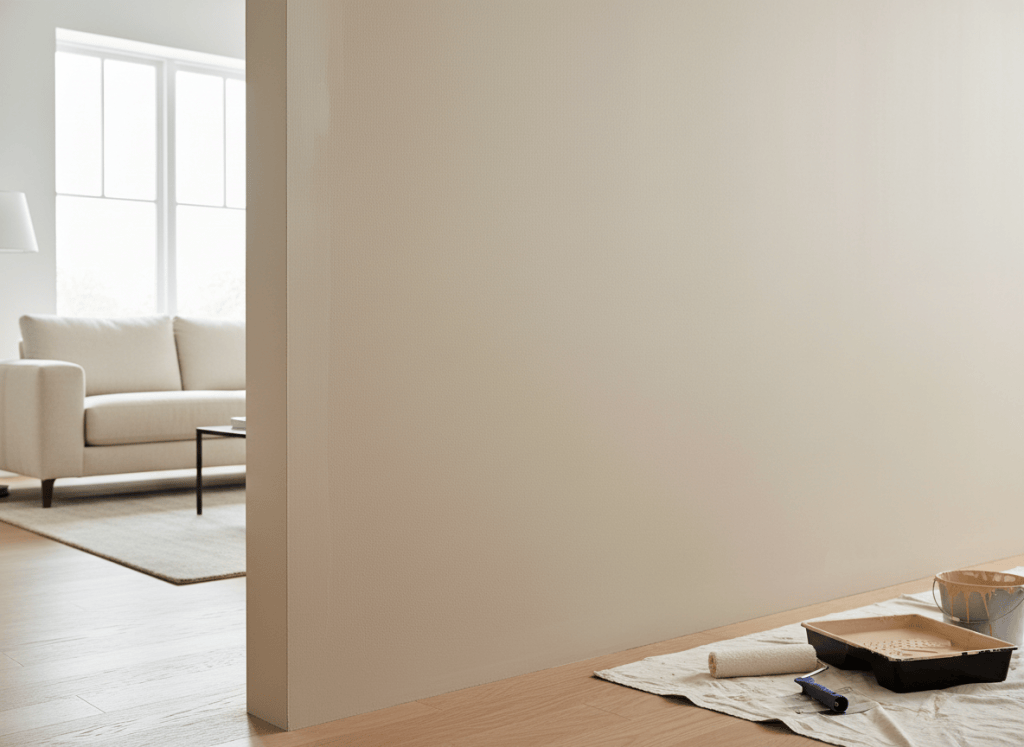
WHAT SUCCESS LOOKS LIKE
Check the Finished Repair
- The repaired area should feel reasonably level with the surrounding wall.
- The patch edges should be feathered without an obvious raised ridge.
- Once primed and painted, the repair should blend as closely as practical with the surrounding finish.
- If cracking, softness, moisture, or movement returns, investigate the underlying cause instead of repeatedly covering it.
When a Small Patch Is Not the Right Repair
If the wall damage is large, wet, soft, cracked from movement, or connected to plumbing or structural issues, the problem may need more than a cosmetic patch. Address the underlying cause before covering the damage.
Turn the Repair Into a Clear Before-and-After Video
Home-service content works well when viewers can see the transformation quickly. A simple short-form sequence can show the damaged wall, preparation, patching, sanding, and the finished painted result.
- Opening: show the damaged spot up close.
- Preparation: show the area being cleaned.
- Repair: show the putty knife applying compound.
- Smoothing: show light sanding.
- Finish: reveal the painted wall.
- Call to action: invite viewers to save the tip, follow for more repairs, or contact the business for larger jobs.
Why This Works for Home-Service Businesses
A useful tutorial demonstrates competence without turning every post into an advertisement. Painters, handymen, maintenance companies, and property managers can teach a small repair while naturally showing the quality of their work.
Use AI to Help With the Presentation
AI-assisted creation can help organize the shots, resize the finished content for different platforms, generate supporting visuals, and speed up editing. The repair knowledge itself should still come from sound home-maintenance practice and the product instructions being used.
Explore ShiMuv to see how practical tutorials can become polished creator and small-business content.
TRY THIS IN SHIMUV
Turn this drywall repair into a clear demonstration
Use this real article as a starting point. Open the editable prompt and finished example image in ShiMuv, then review or customize everything before generation.
Create a short instructional home-repair video using this finished drywall-repair image as the visual reference. Show the original wall damage. Clean and prepare the area. Apply thin layers of patching compound. Sand and paint from the same angle. End on the smooth finished wall for a clear before-and-after.Opens with this prompt and finished example image ready to review. Nothing generates or spends credits until you confirm.